Hey fellow northstarians, here is a simple tutorial on how to properly edit a photo and also add a little flare with the “Instagram Effect”.
What you will learn :
Levels: What they are and what they do
Curves: How it effects your photo
Sharpening: Crisp up that photo!
Hue & Saturation: Pretty colors!
BONUS:
*”Instagram effect”*
So to start out, you want to import the photo that you want to edit into photoshop. Once you have the desired photo, on the bottom right side underneath your layers is a little half black half white circle. Click on that and go to levels. 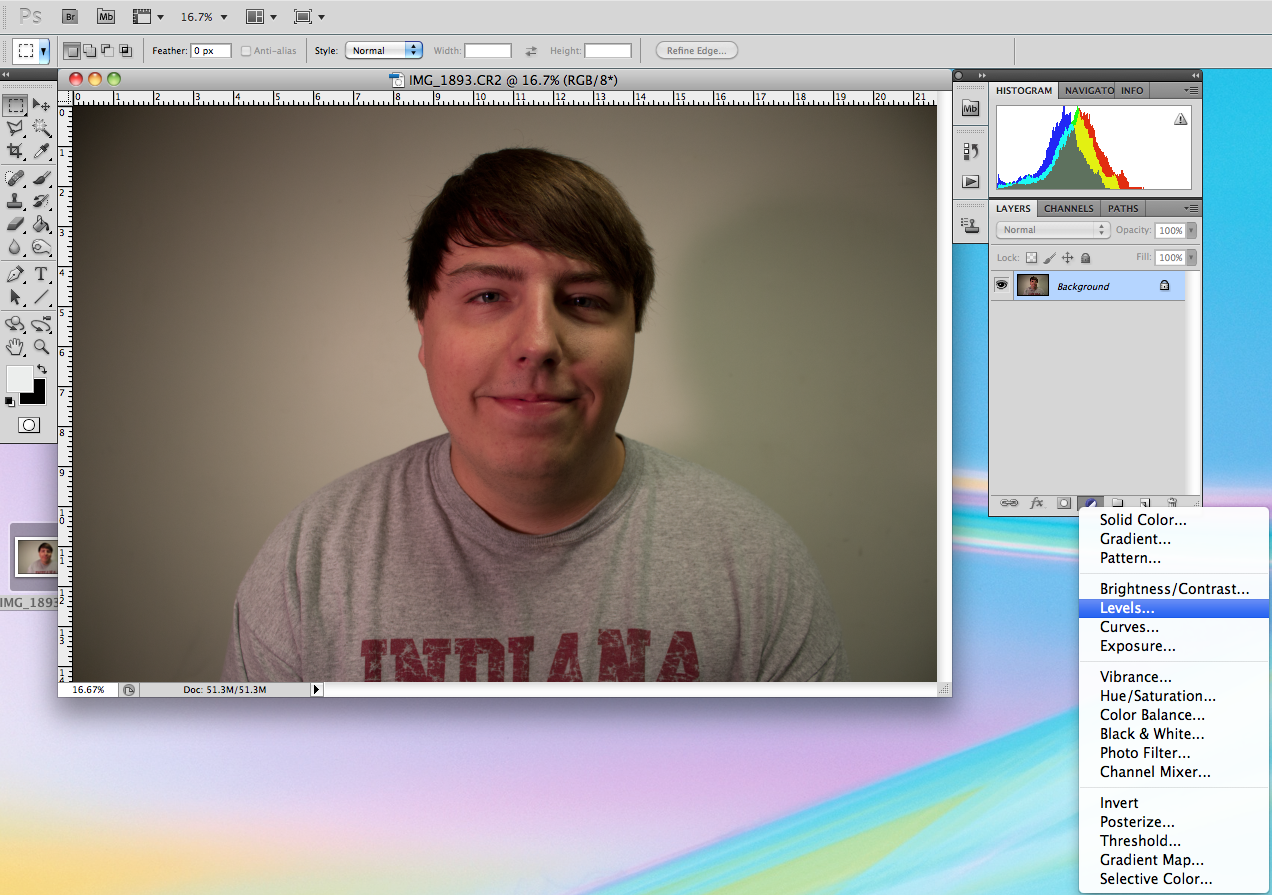
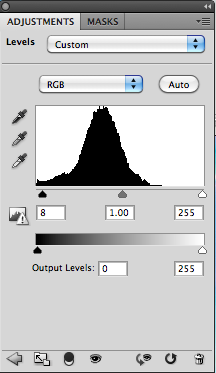
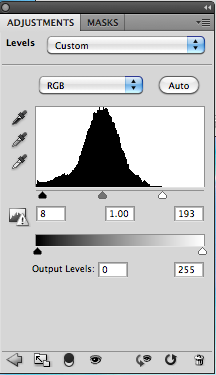
Now what levels is, is it is basically the light that was captured in your photo and allows you to make your photo bring out it’s natural light and make the photo pop. But for now what you are going to do is just drag the white slider over to where it just barely touches the big hill type thing in the middle. Do the same for the black slider too if it isn’t already by the hill.
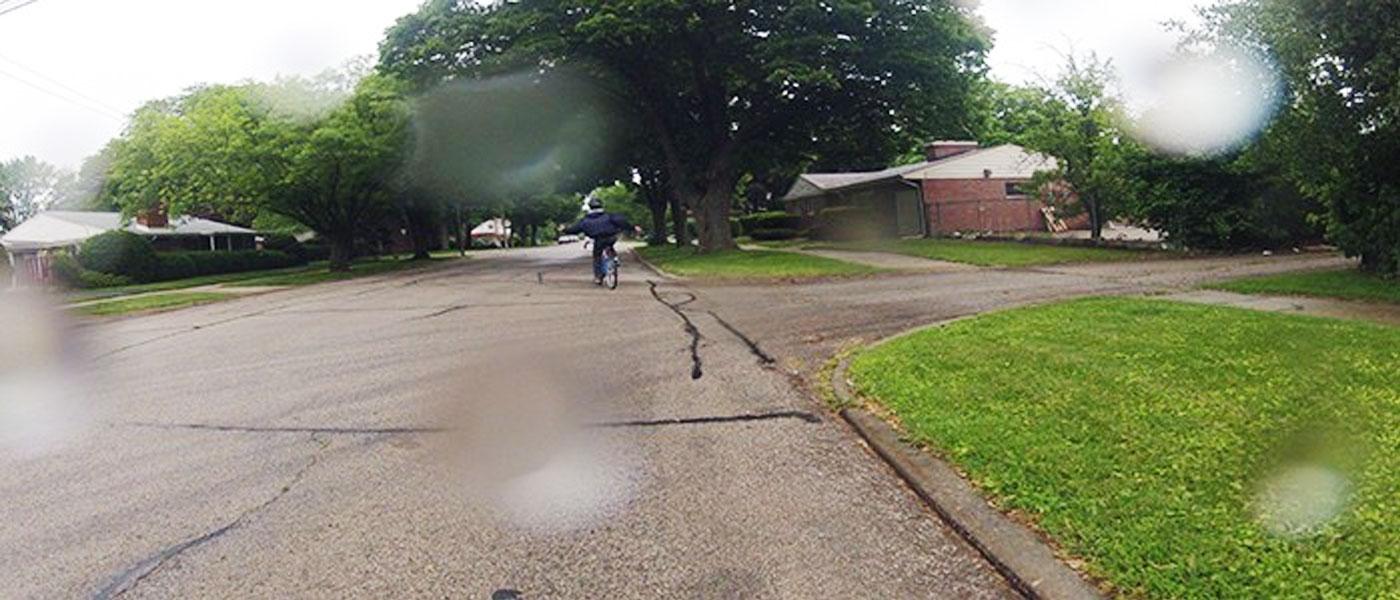
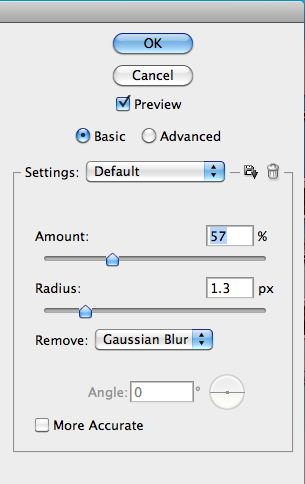
Now that you have your levels set up how you like, you have the option to sharpen your photo if you wish. Now what this does is that it basically crisps up your image on all the lines throughout the photo making look a bit more focused than it originally was. Now don’t think that sharpening your image will take away all the blur, because that isn’t what it does. Nothing can make a bad image clear. So if you wish to sharpen your image you will need to go to the filter tab at the top of your screen and click sharpen and then smart sharpen. They should be about half way or so down the list.
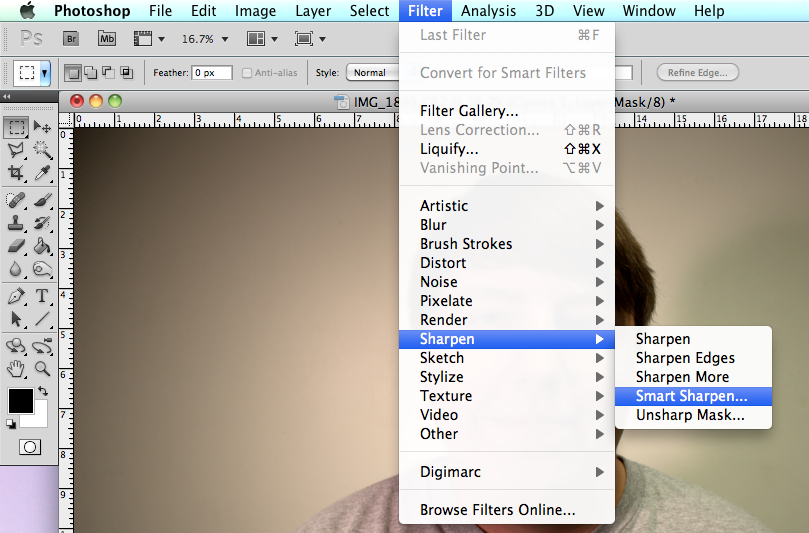
Then what you want to do is adjust the setting as is and just move the “Amount” slider to what you feel your picture needs. Some photos need more sharpening than others, but just eye ball it and see if you need more or less. Every picture is different.
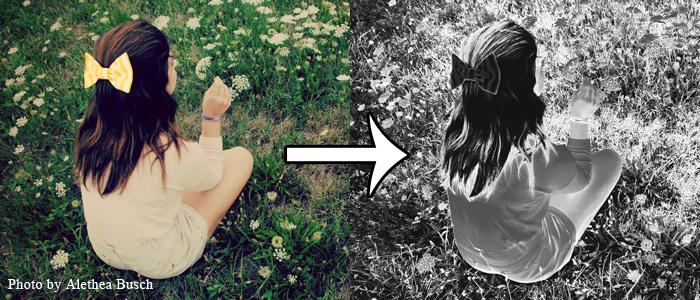
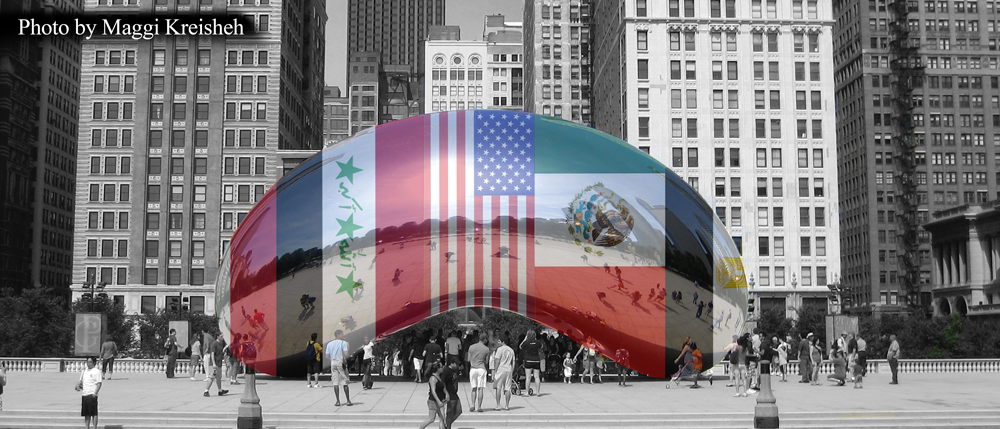
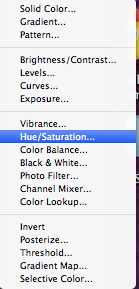
Hue & Saturation is another tool you can use in your photo to bring out specific colors in the image to give something a more highlighted and brighter feel. For my photo i decided to bring up the reds a little and bring just a little more color into my face and also into my shirt and background. To use Hue & Saturation, go to the black and white circle in the bottom right hand of Photoshop just like in the levels part of this tutorial.
Once you are in Hue & Saturation you should see sliders just like in the levels part of this tutorial and just like before, you can experiment with different settings to find out which ones suit you the best. Here is an idea of what it might look like when you open up this screen.
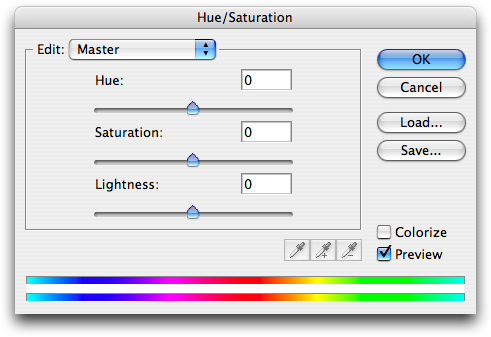
Find what works best for you, and then you can move on to the “Instagram Effect”.
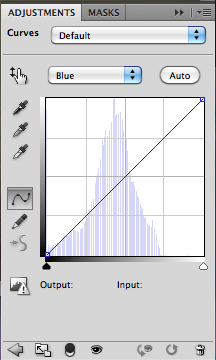
The Instagram Effect is a self named edit by Mr. Silverberg and I and we gave it the name because it looked very similar to a lot of photos we have seen on the App. To do this effect is really easy. From the same Black and white circle that we have been using a lot so far in this tutorial, you will find an option for “Curves”. So what you want to do is click on it and it will bring up a secondary screen like most of these other effects and edits.
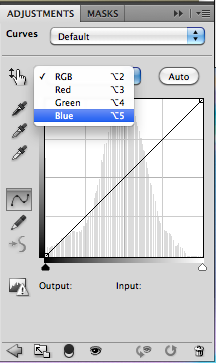
There is a drop down box and you want to click on that and select the blue path.
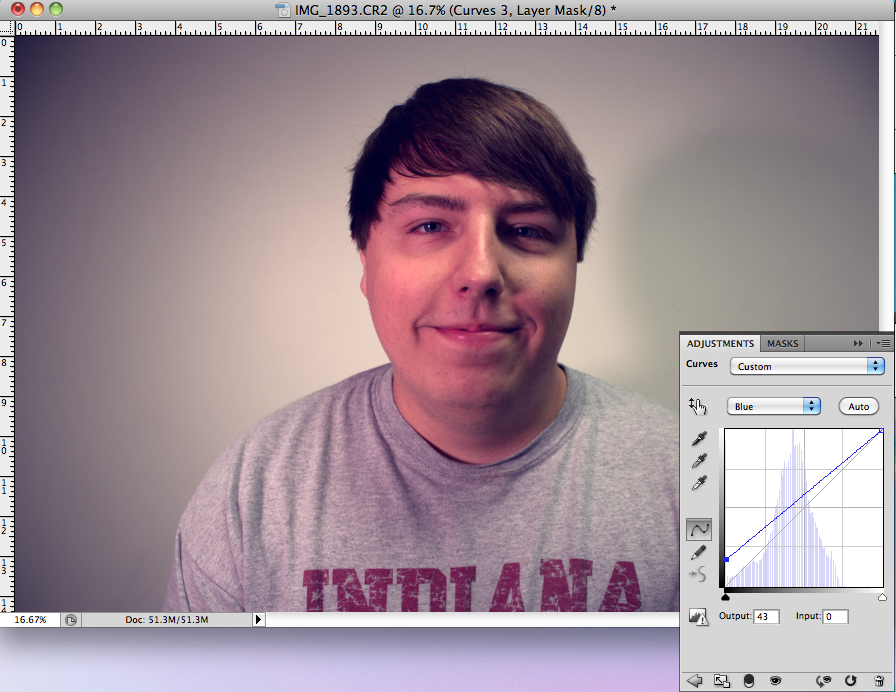
Now what you want to do is move the left hand box in the corner a little bit up and it should cause your photo to look something like this.
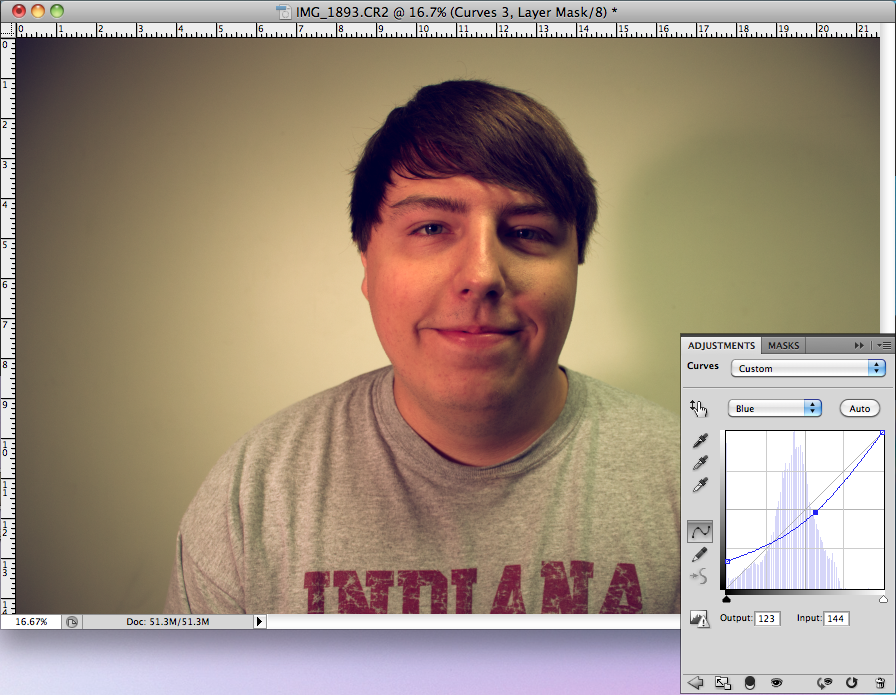
Then what you do is in the middle-ish area, drag the line down just a little bit and your photo will turn from having a blue tint to a gold-yellow tint that shows off a little bit more clarity and also makes your picture pop. It should look something like this.
Now if you are comfortable with the way your photo looks, and you don’t think you will need to edit it any longer, make sure to add some text to say who edited the photo (if you are using it as a featured image) or just to send a message to your audience.
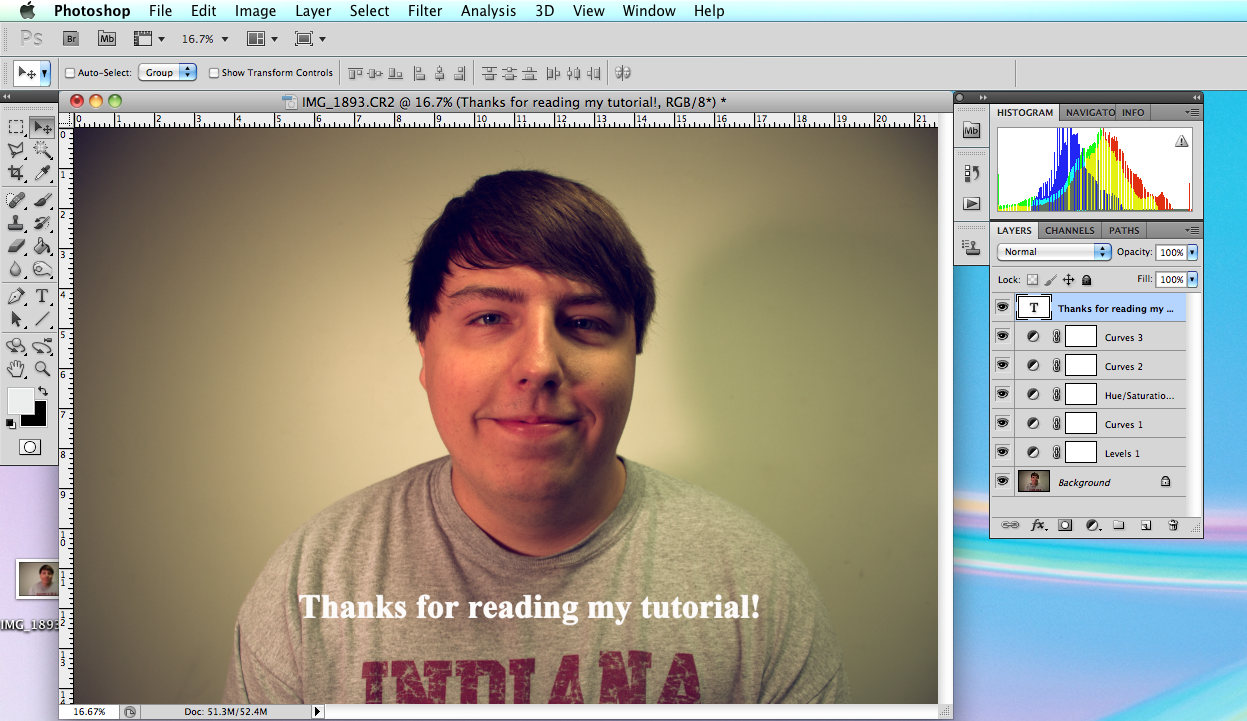
Thank you for reading my tutorial, everything should be used in moderation and some things including the “Instagram” effect will not work on every photo, but it is always a good idea to experiment with settings so that future images will become easier to edit and you can add some fun twists and effects to make every photo unique.
Go Vikings!