Have you ever wondered how to make a time lapse of various pictures? For those of you who aren’t familiar, a time lapse is basically a bunch of pictures played one after the other making it seem like a video. For this specific tutorial, a GoPro camera was used, however many other cameras have the ability to do this as well. Let’s start with the set up of the camera:
1. Turn on the camera and insert an SD card
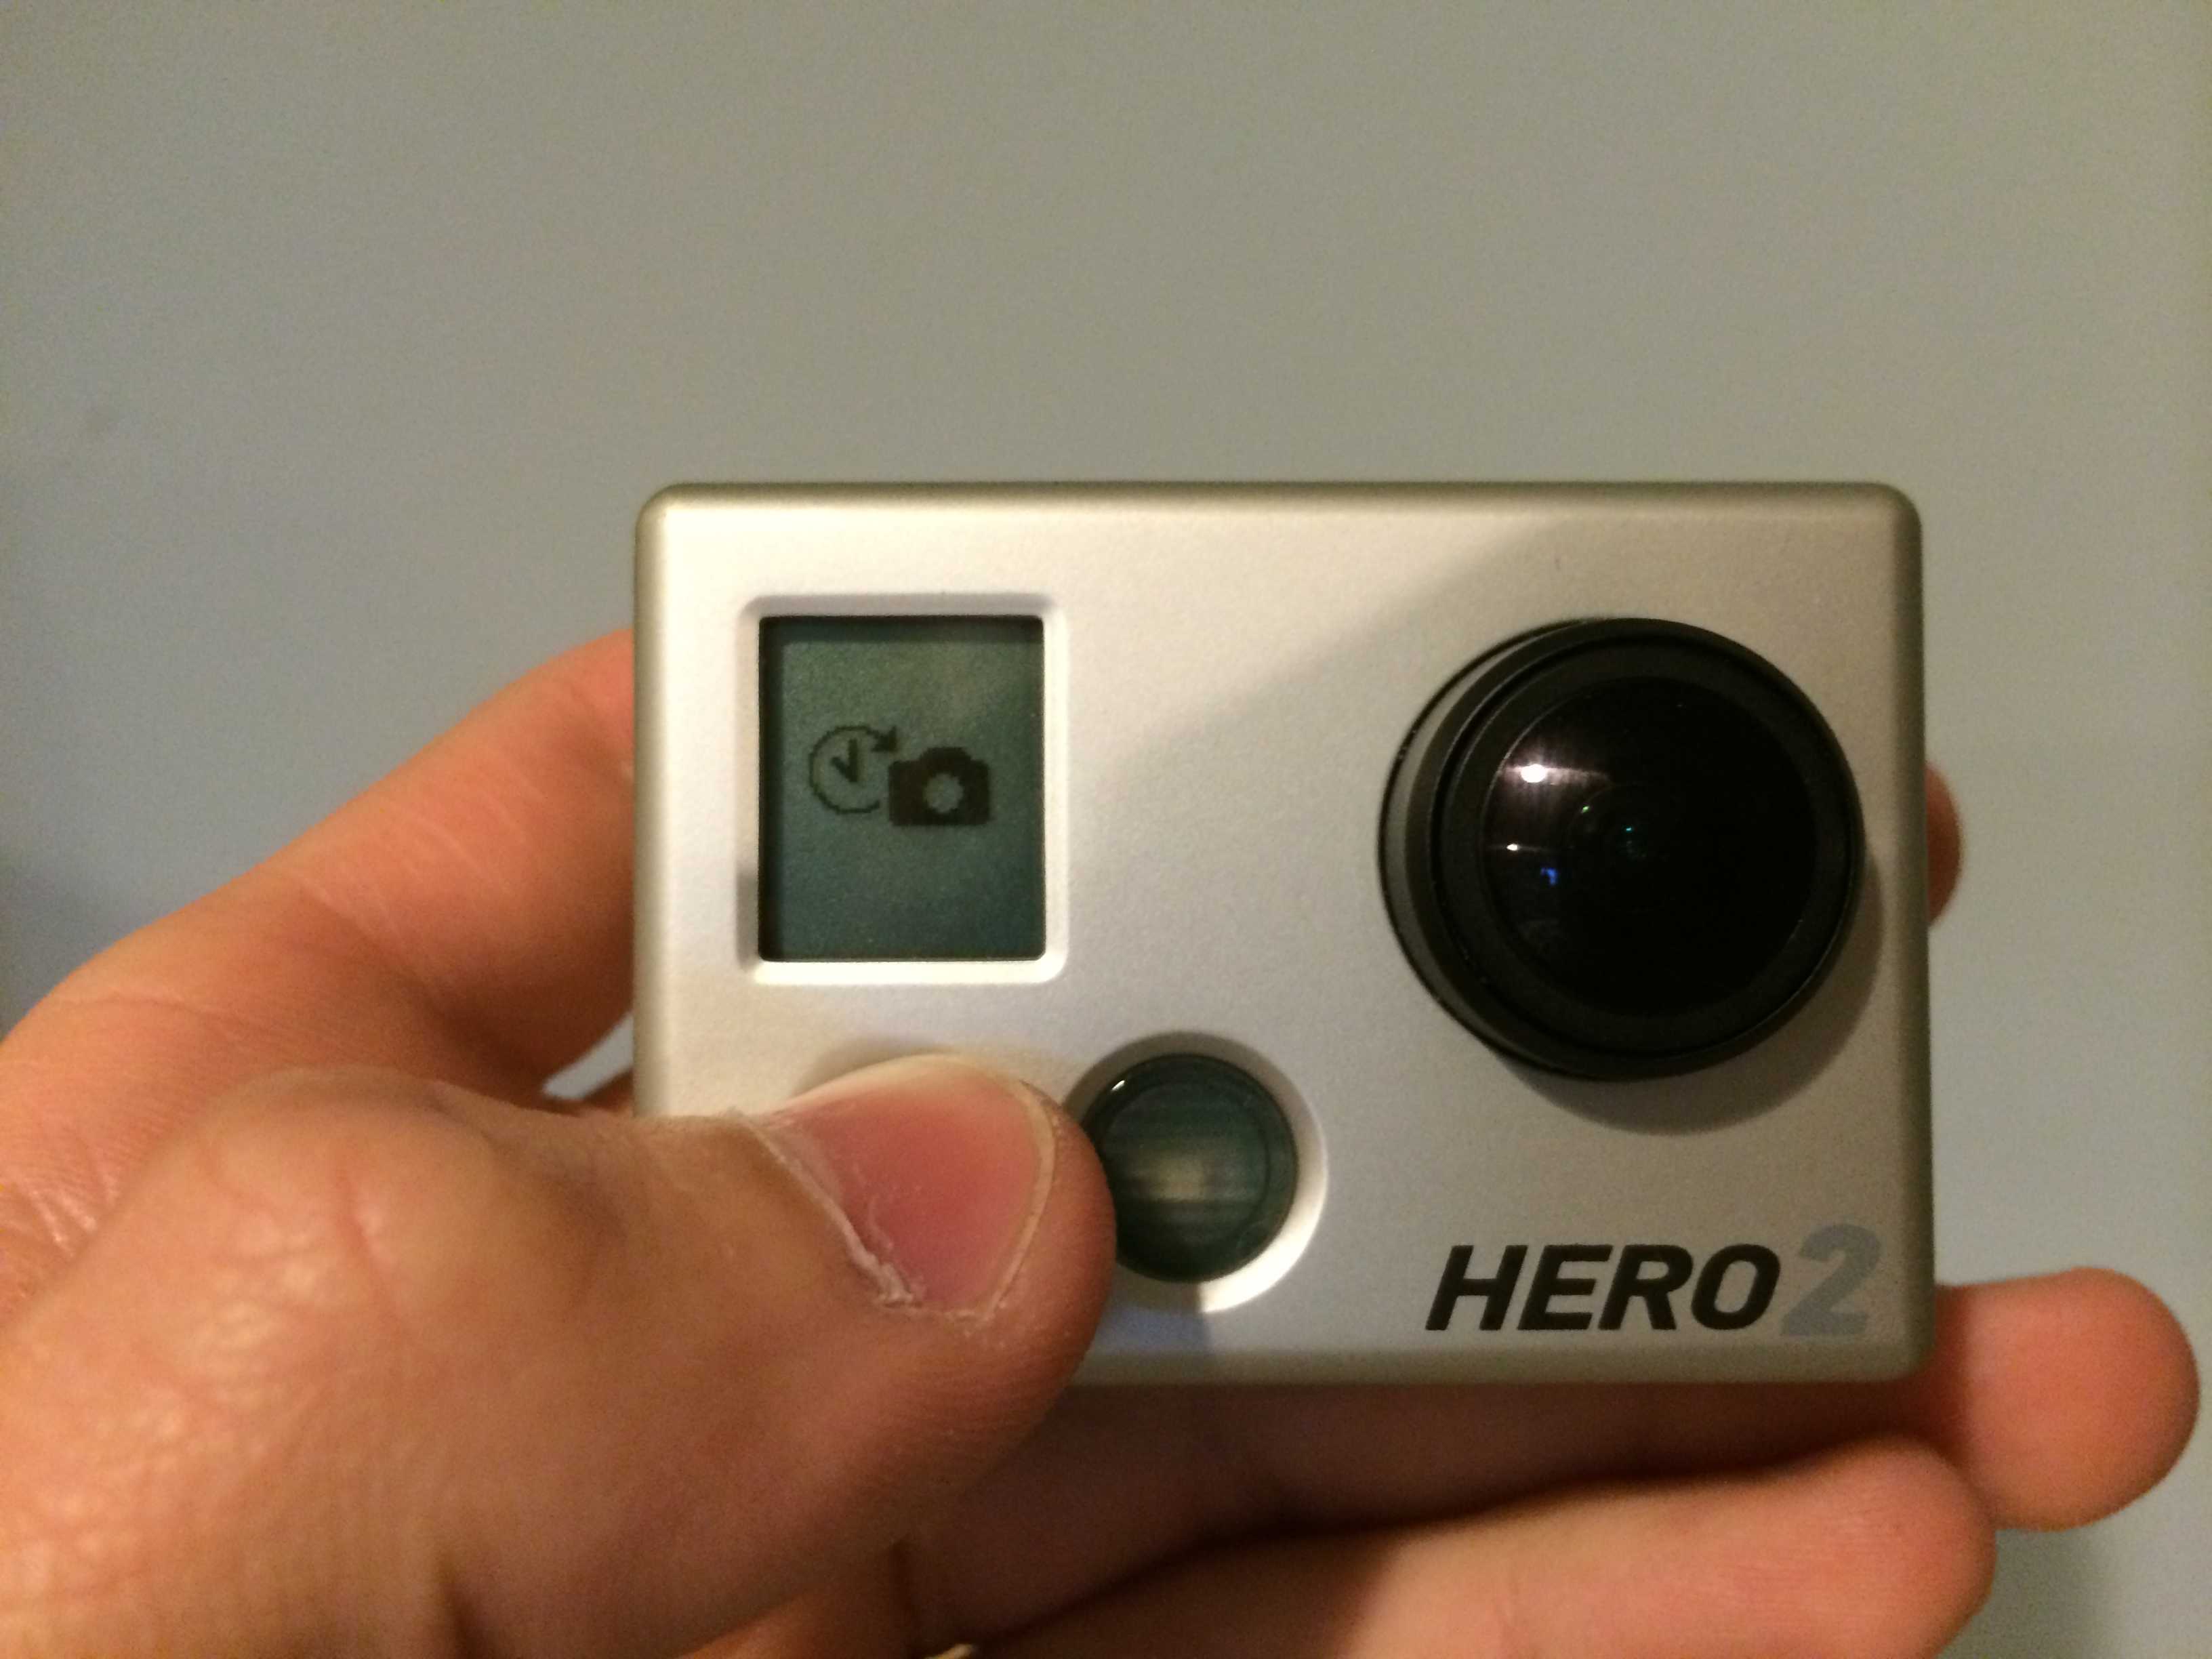
2. Press the grey button until a timer with a camera underneath appears
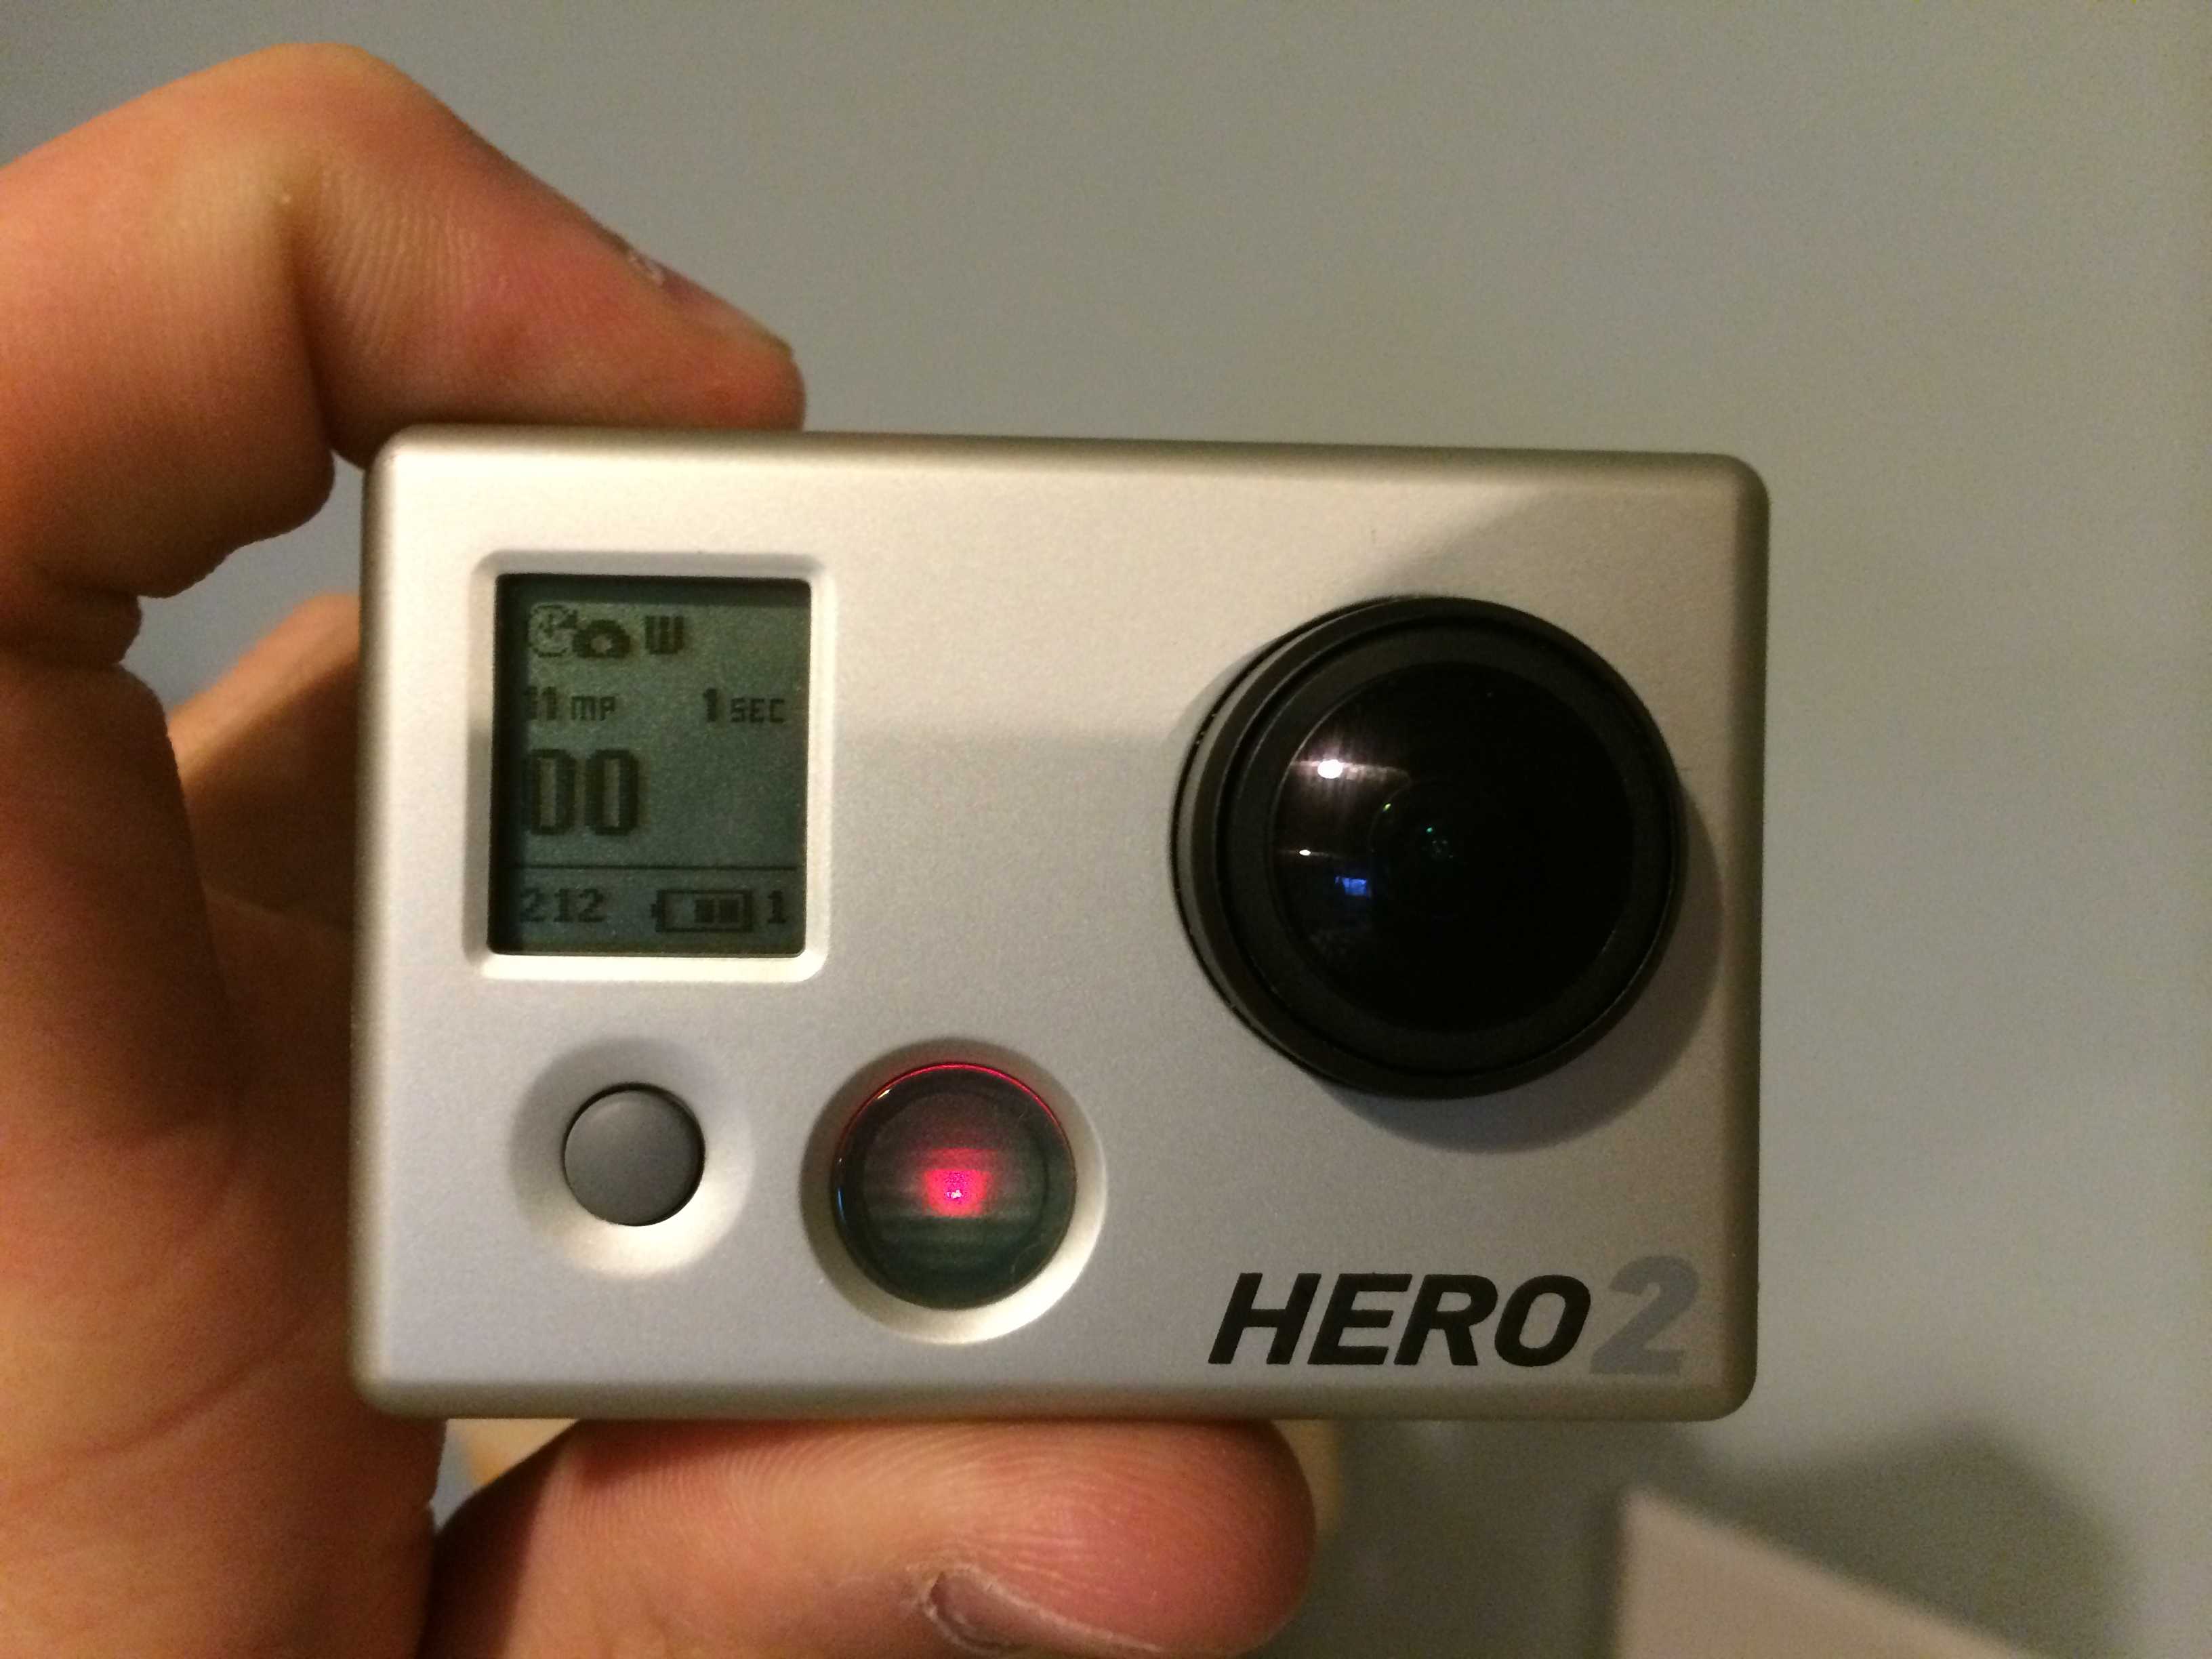
3. Press the top button to begin recording and again to stop recording
. 
Here’s how to actually create the time lapse video:
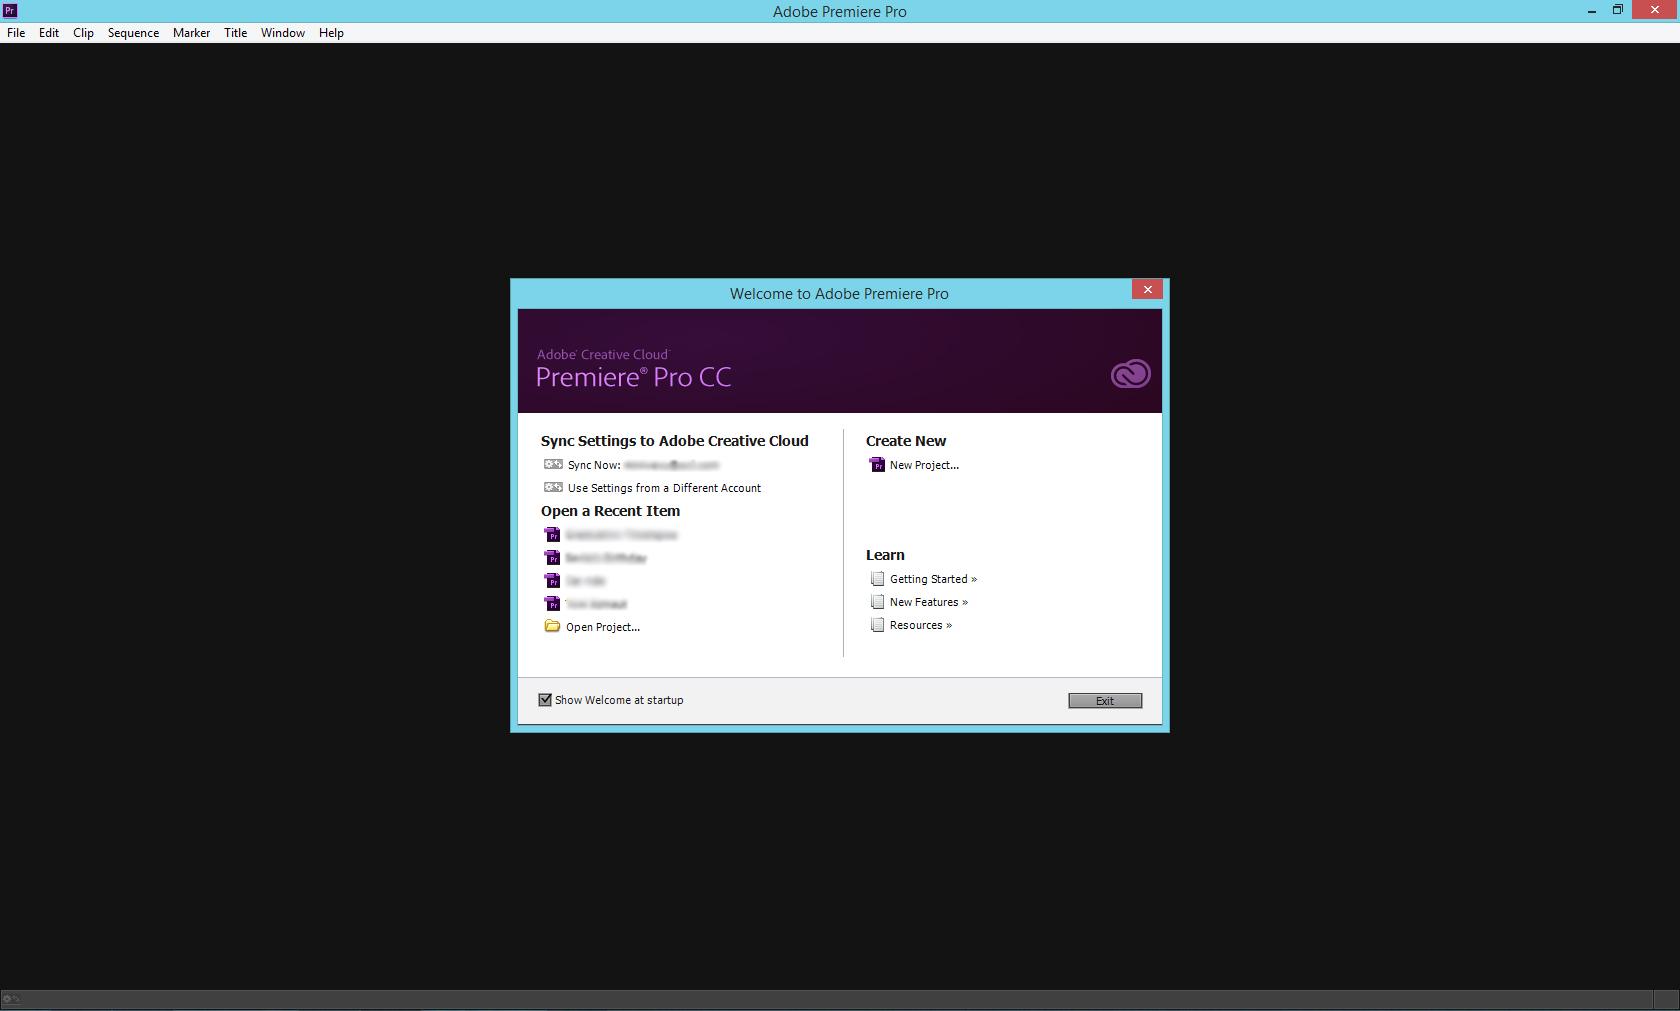
1. Upload the photos to your computer 2. Open Adobe Premier Pro and create a new project and give it a title
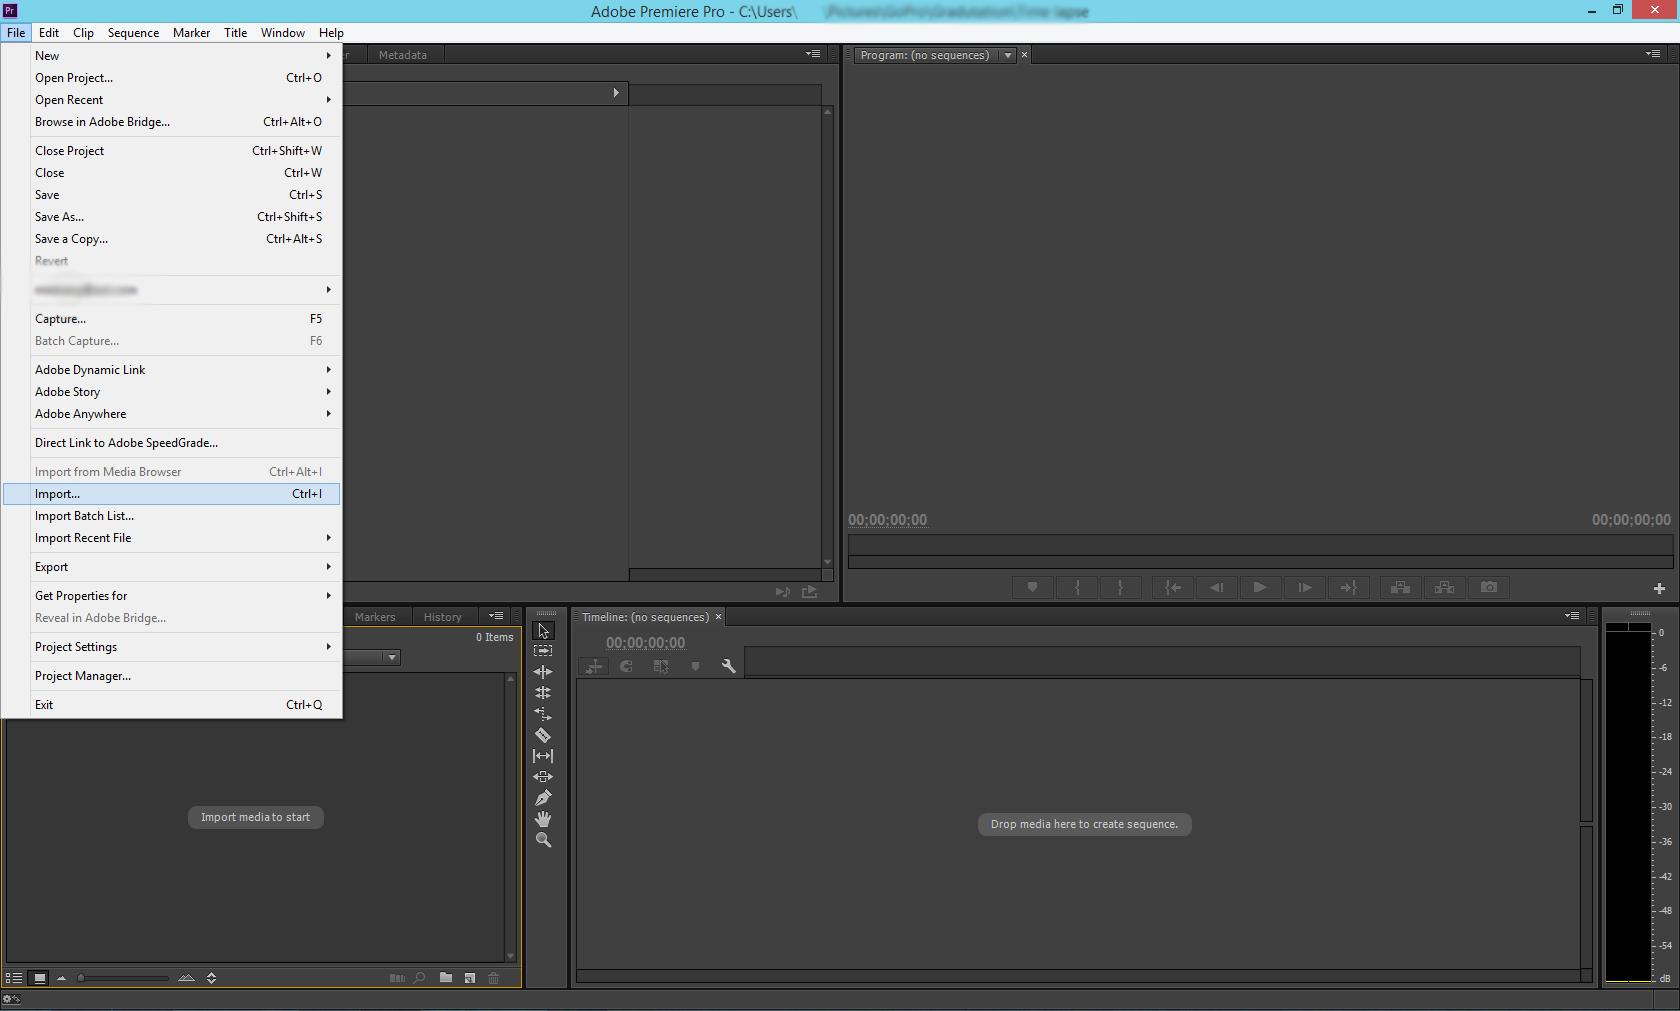
3. Import your pictures
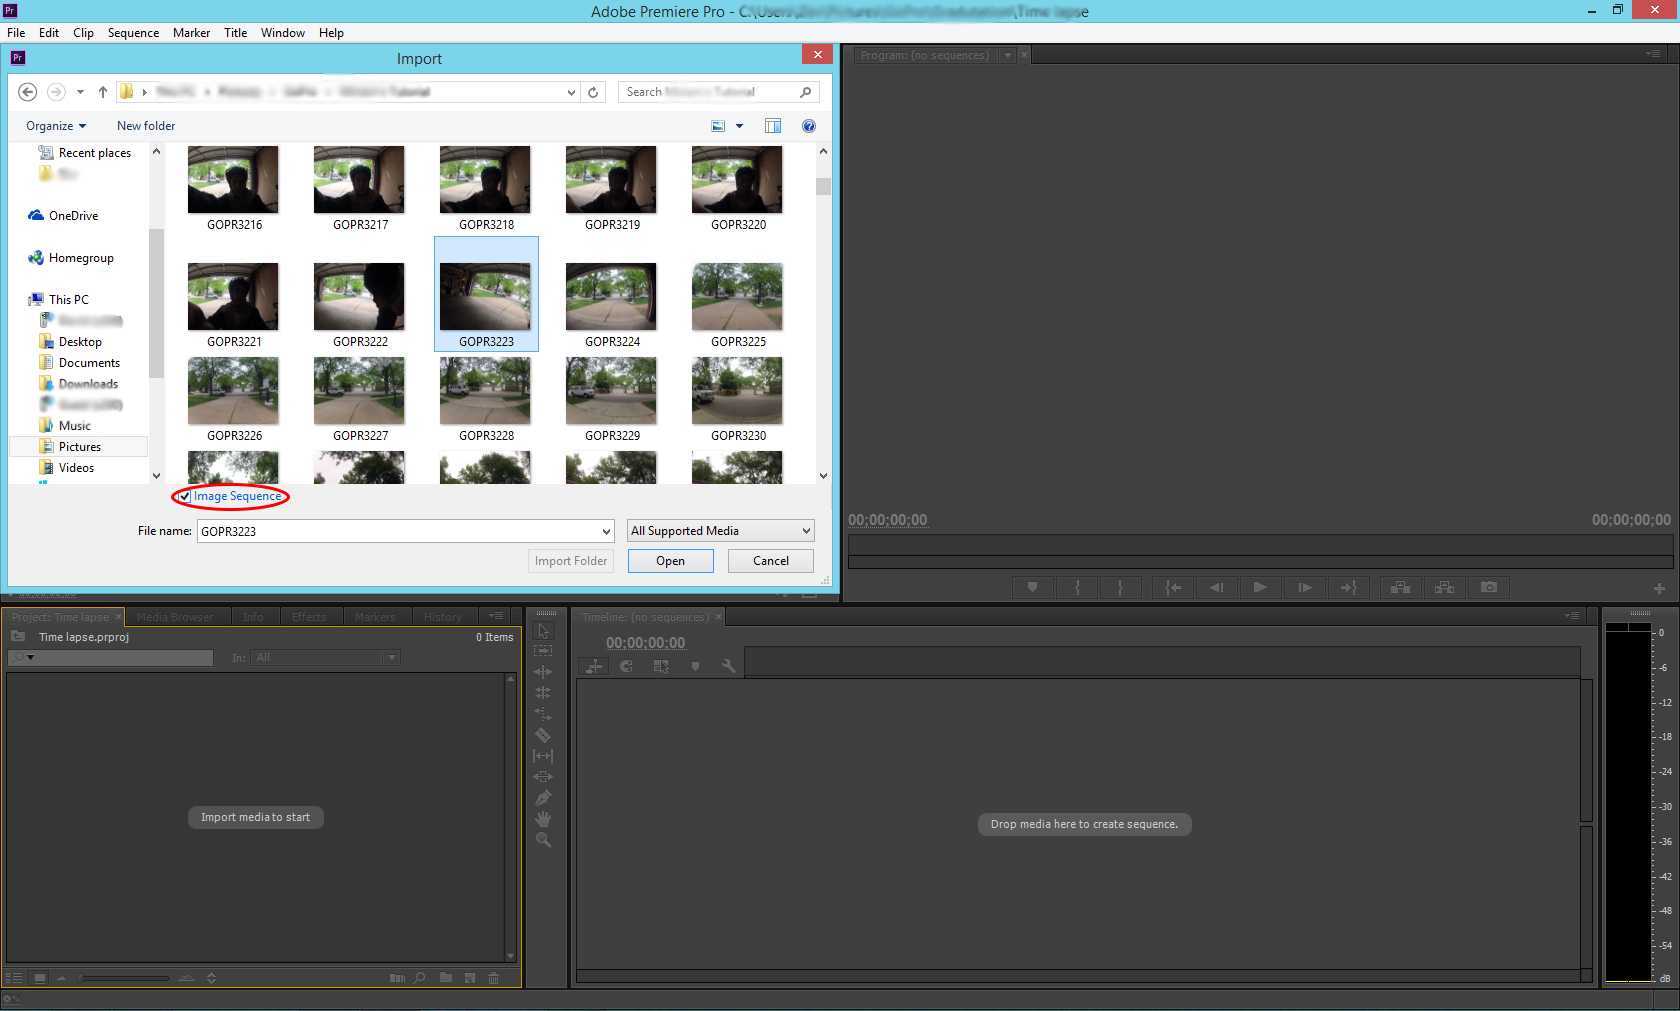
4. Select the picture you want to appear first and check the box that says “image sequence”
5. Drag and drop the the imported clip into the time sequence
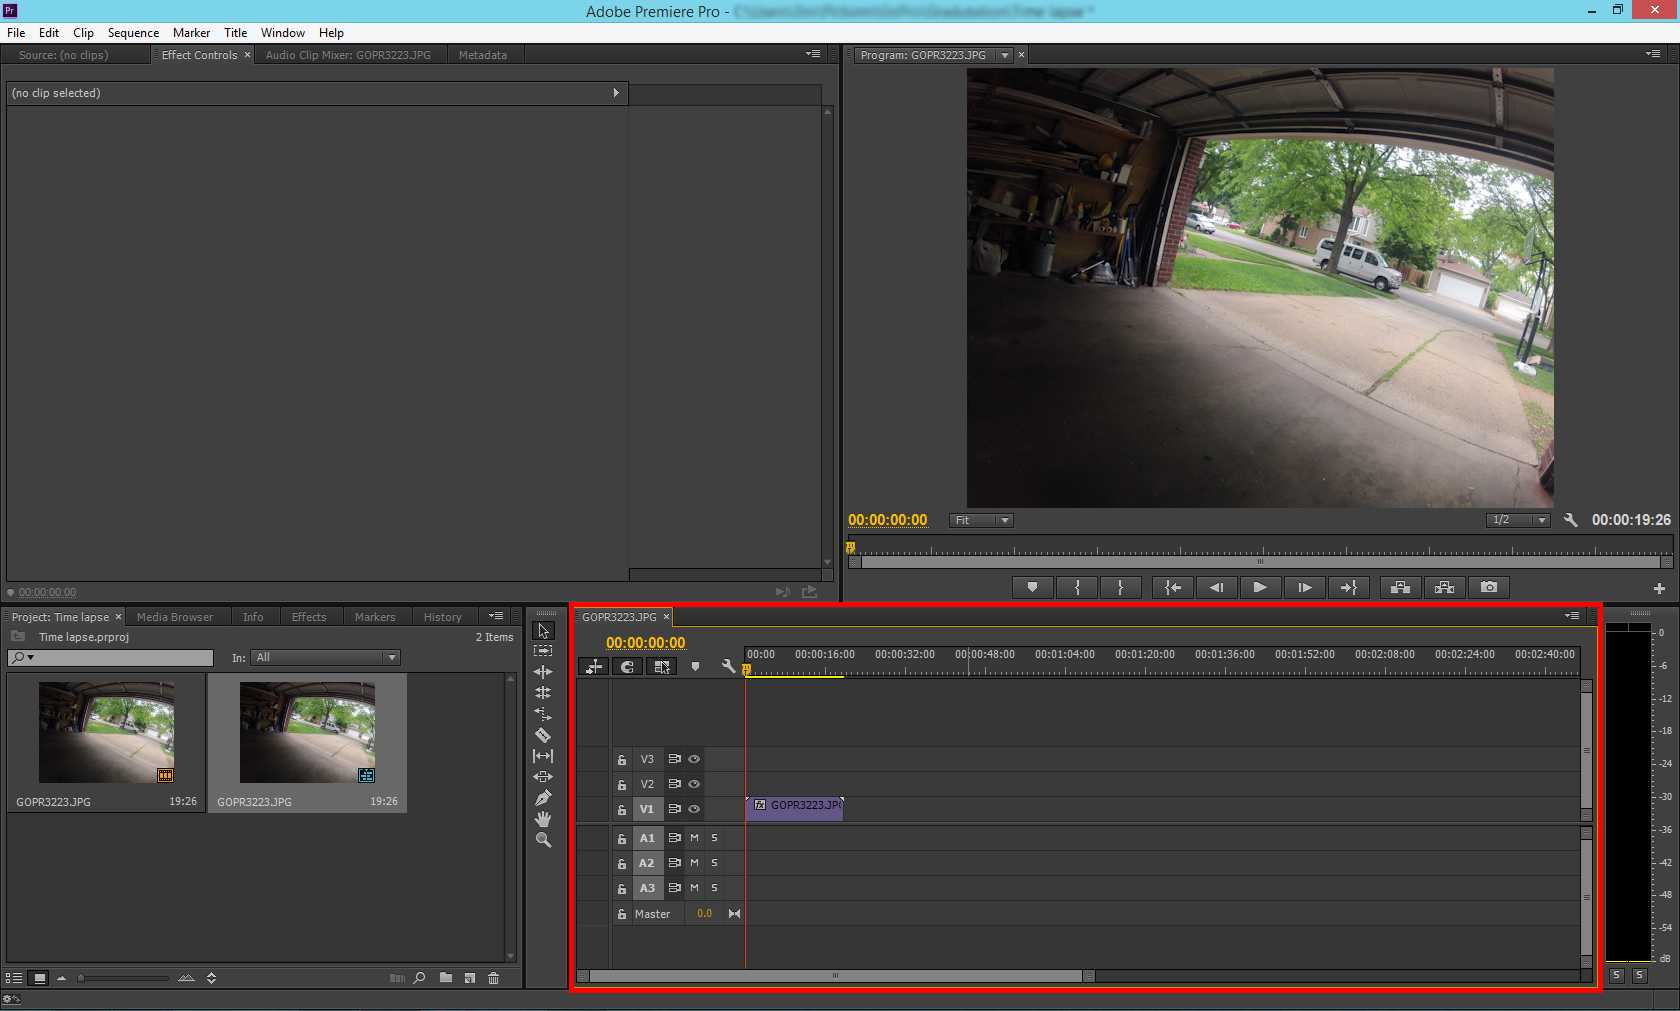
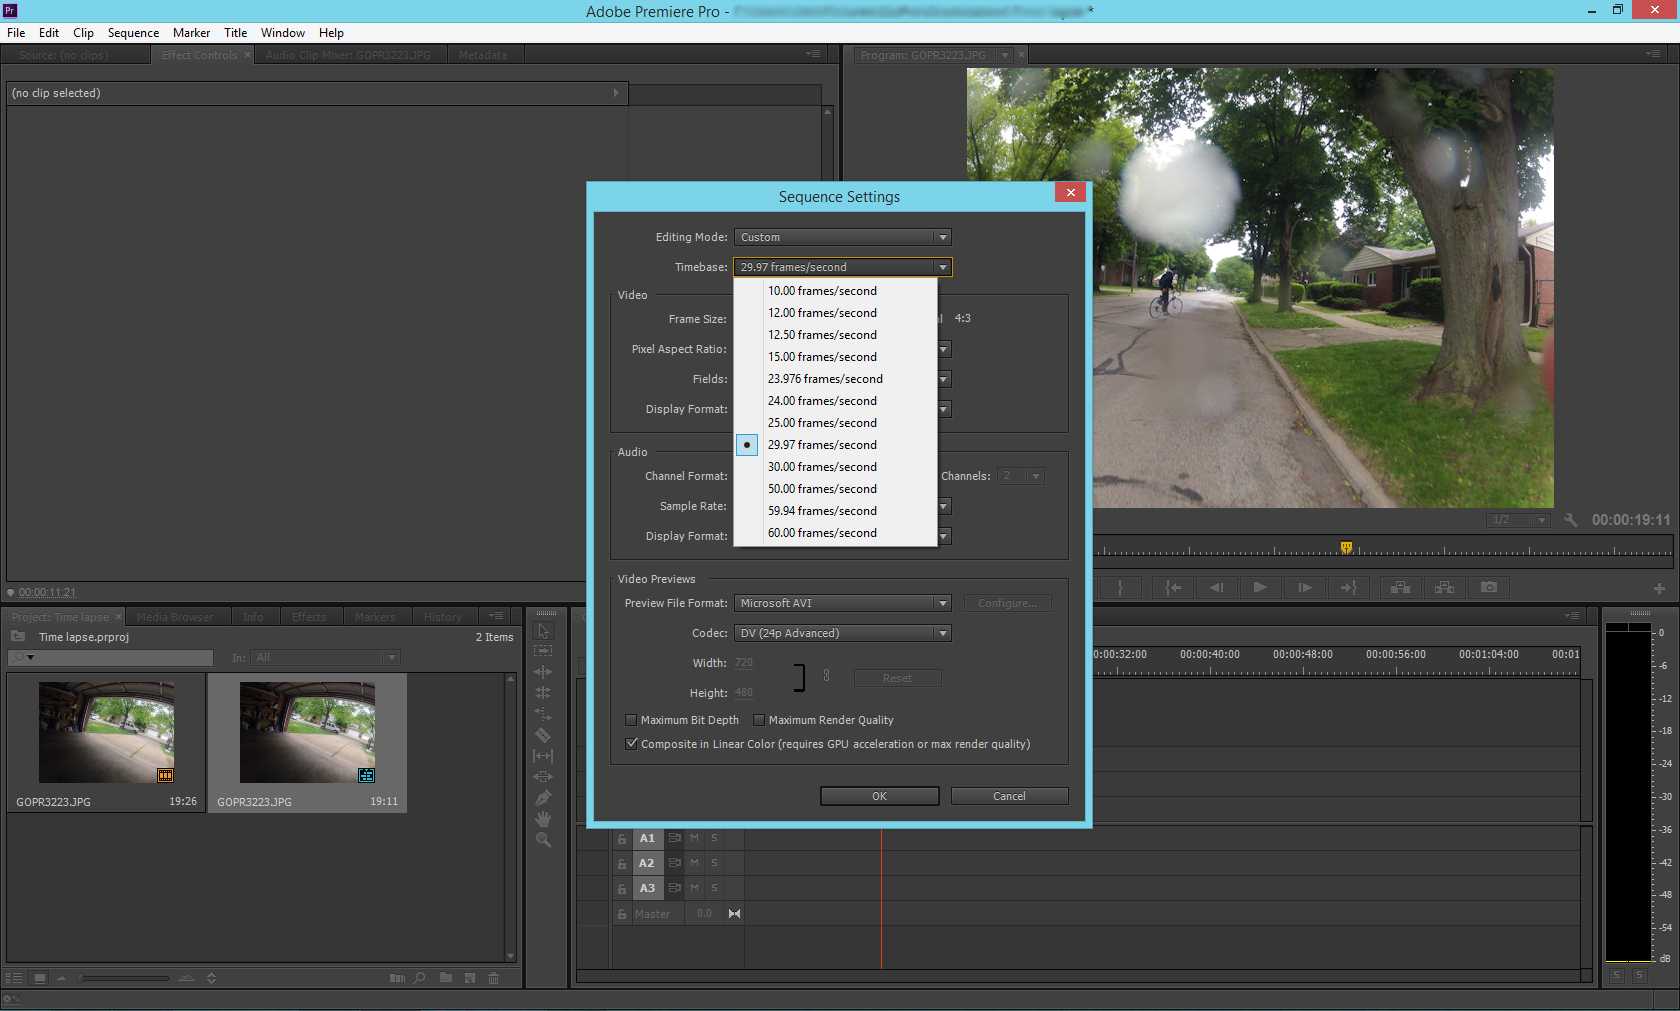
6. Make sure your frame rate is set to 24 frames per second. Click sequence–> sequence settings –> timebase
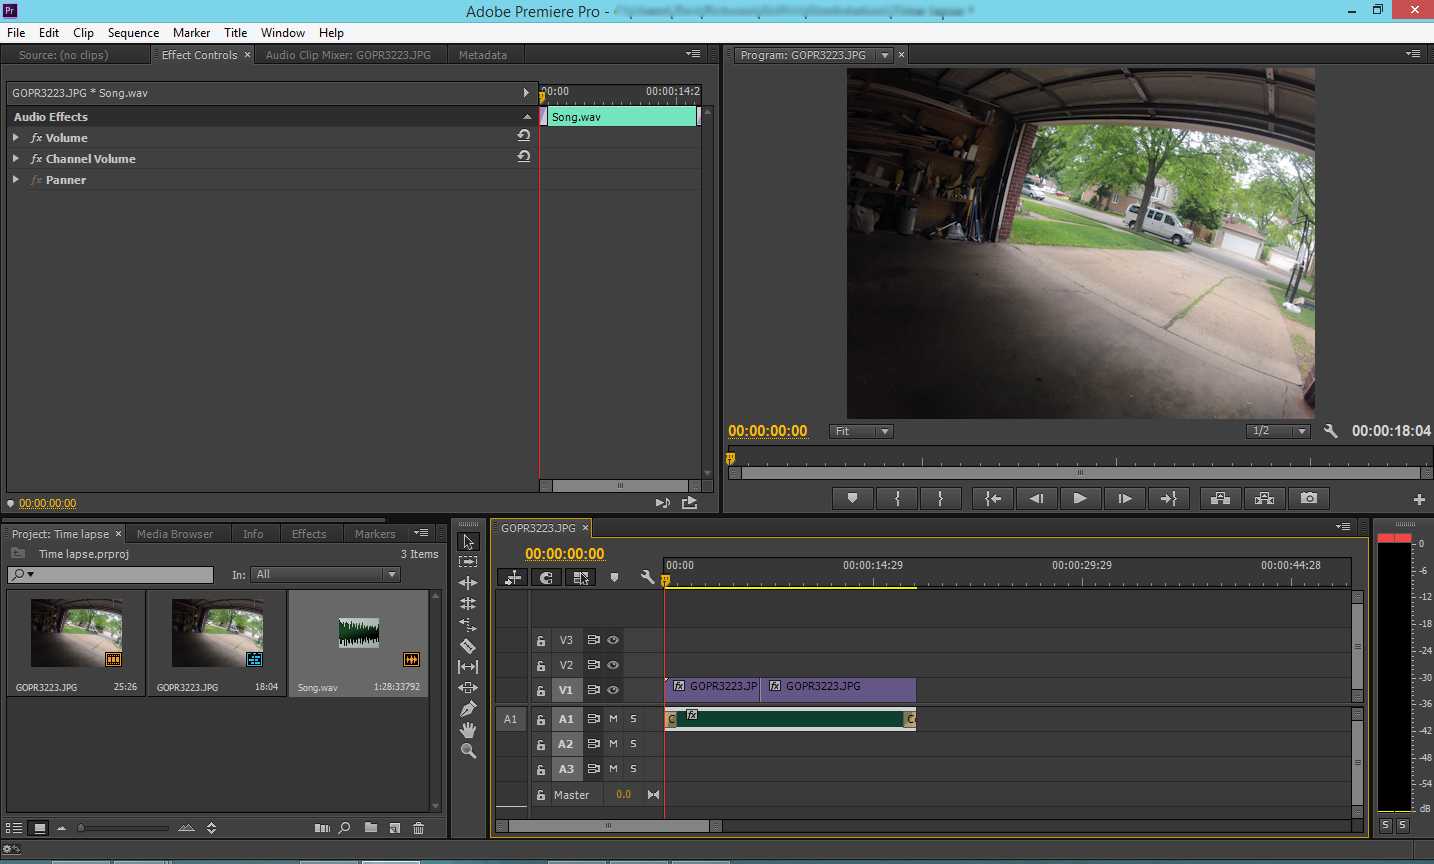
7. If you want to add music, import the music file and drag the music into the time sequence
Make sure the file is in A1 in order to make sure that it’s heard
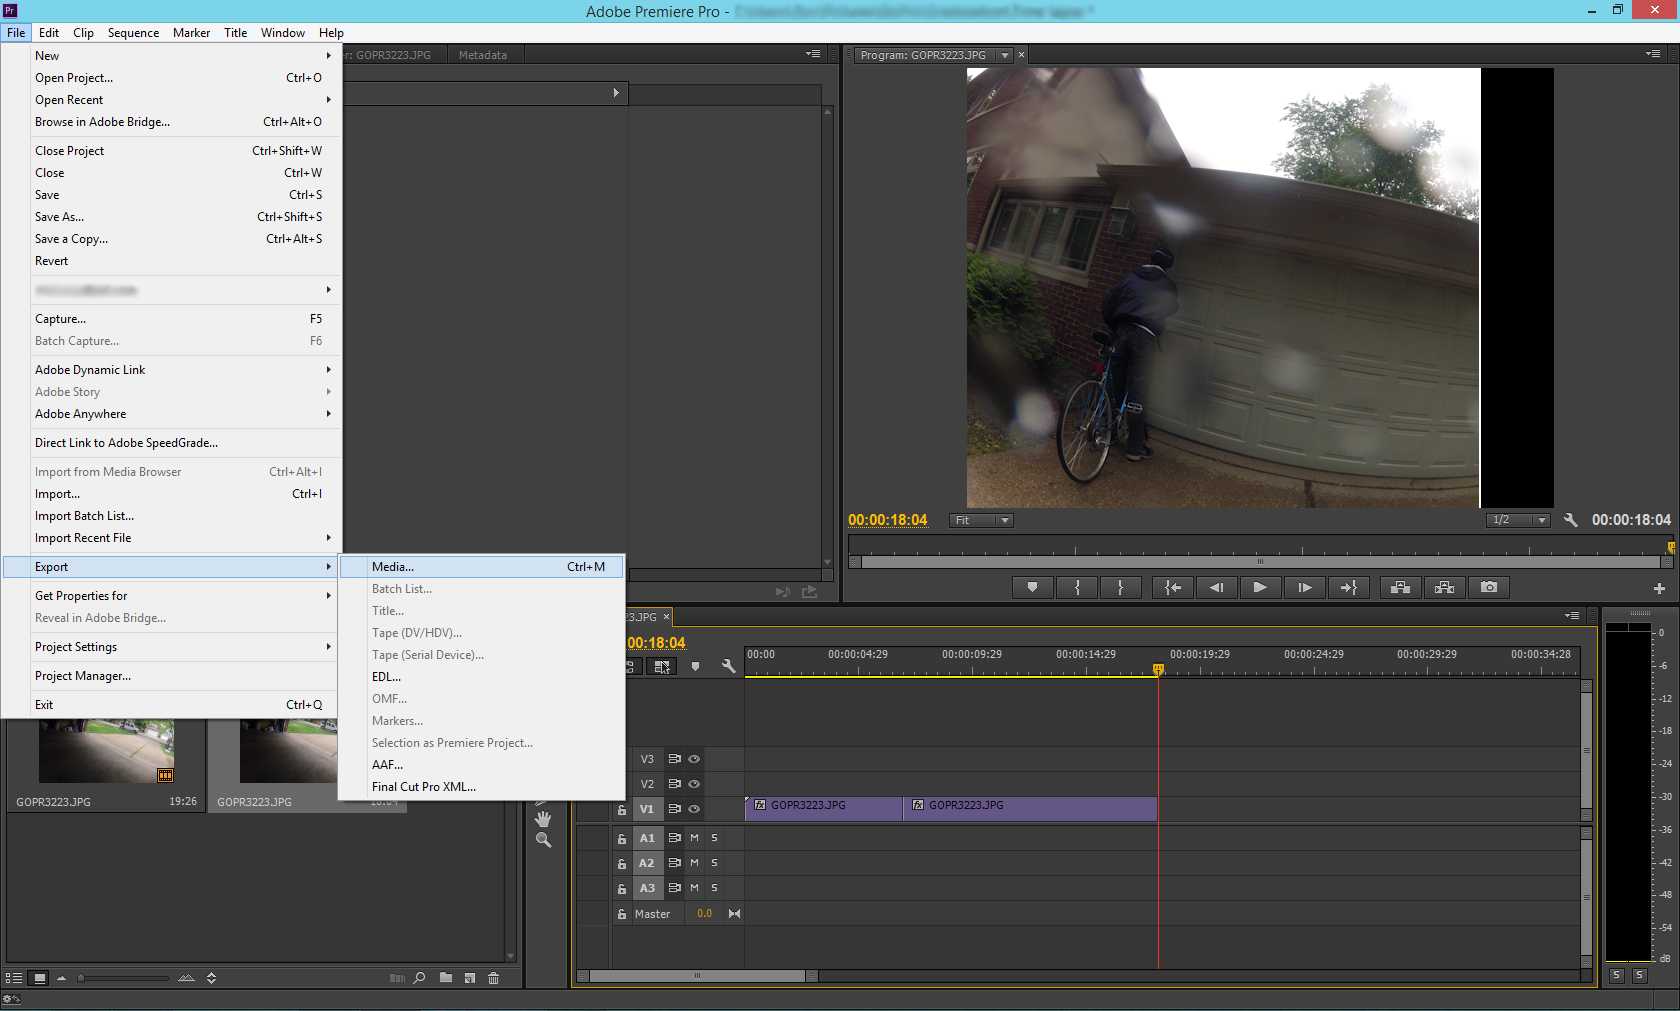
When you are done, you’ll want to export the file in order to view it normally
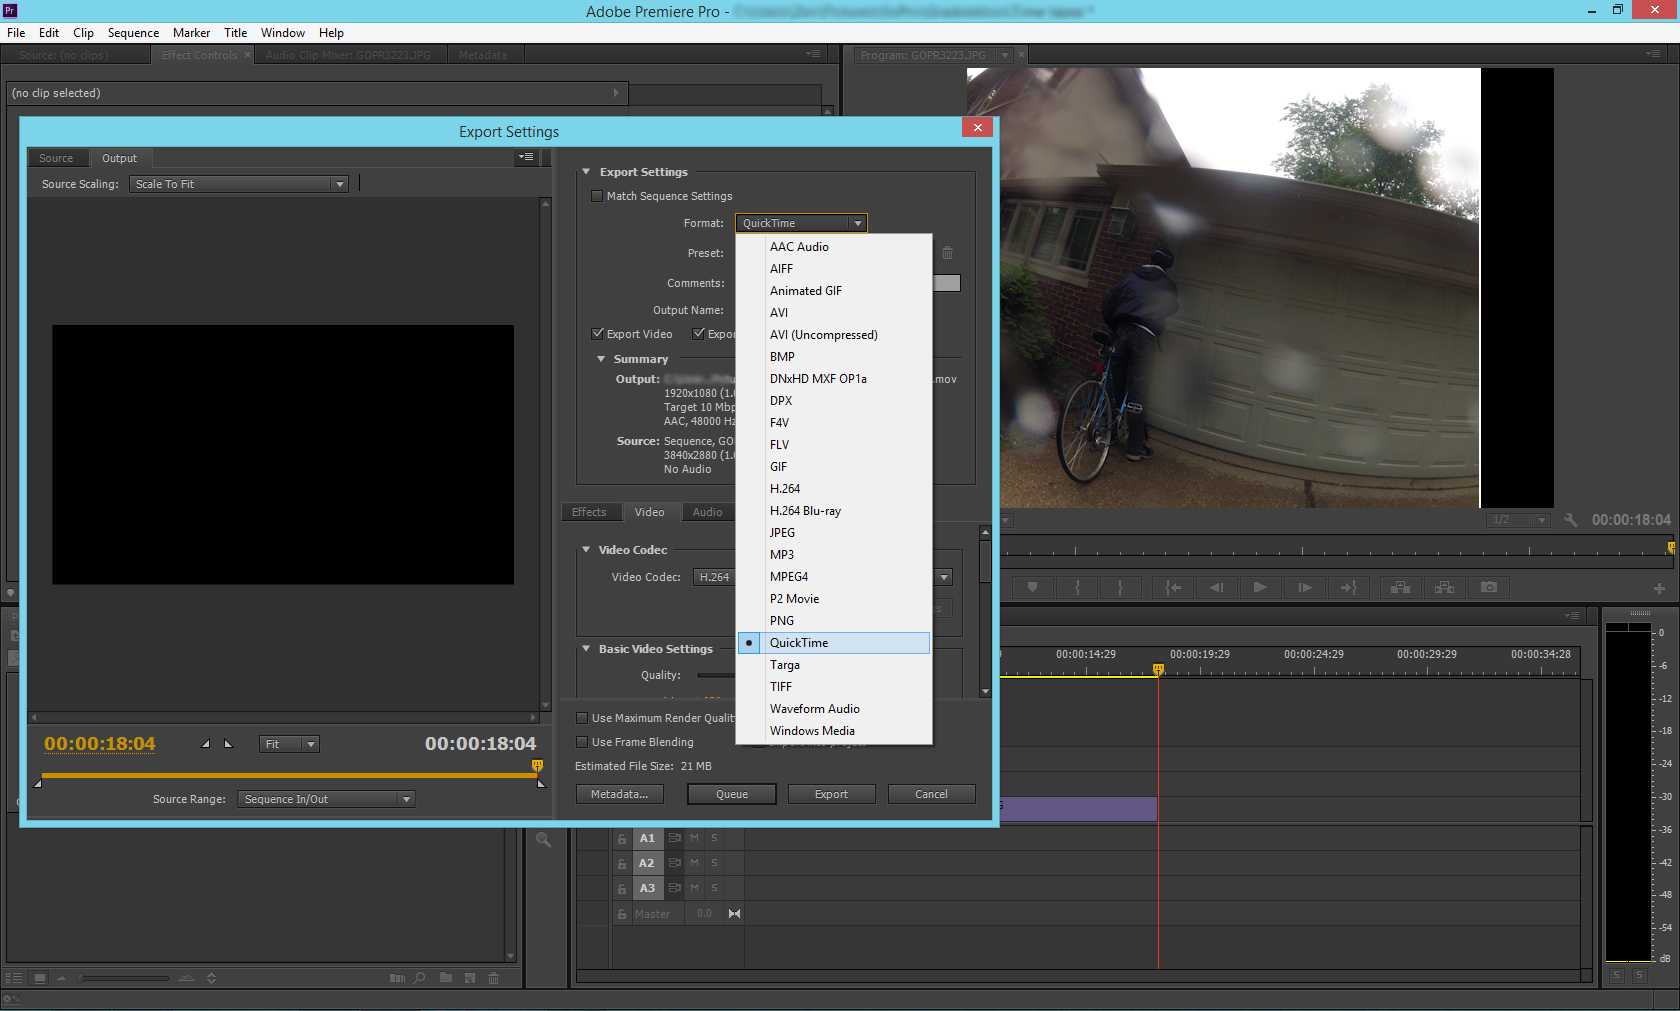
You can choose your file type, for this, QuickTime was most appropriate
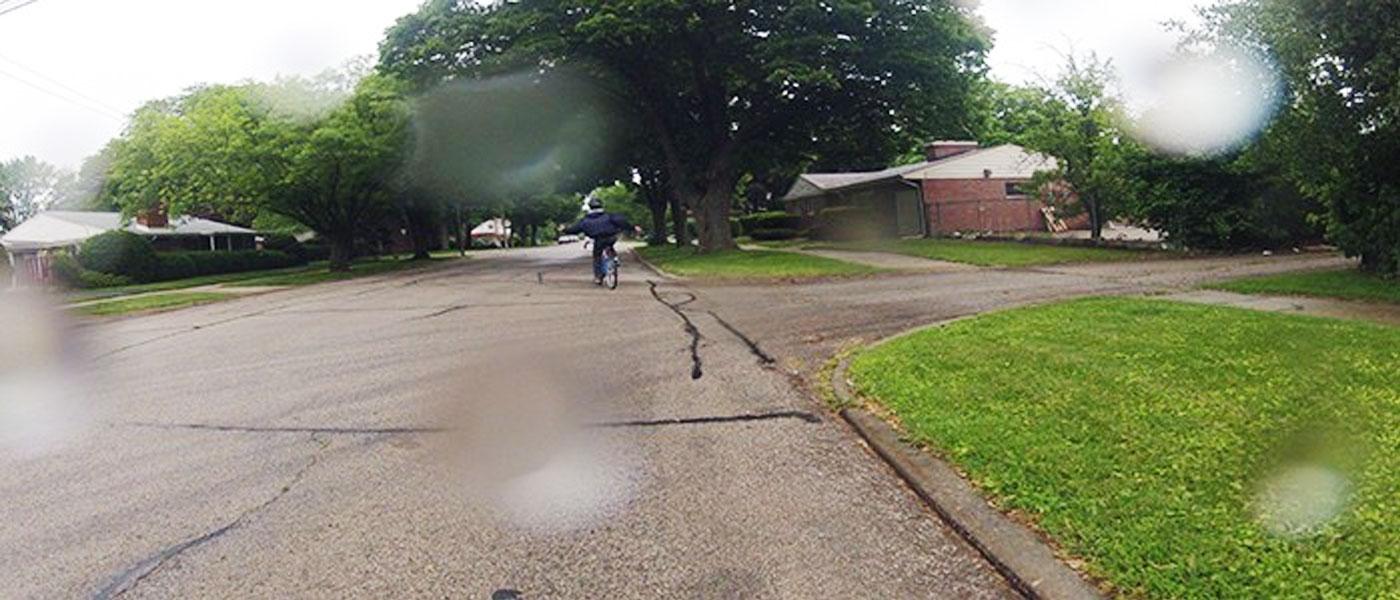
Here is the final product: