
In this tutorial you will learn how to edit a photo using the solarization effect to turn your average photo into a dreamy masterpiece.
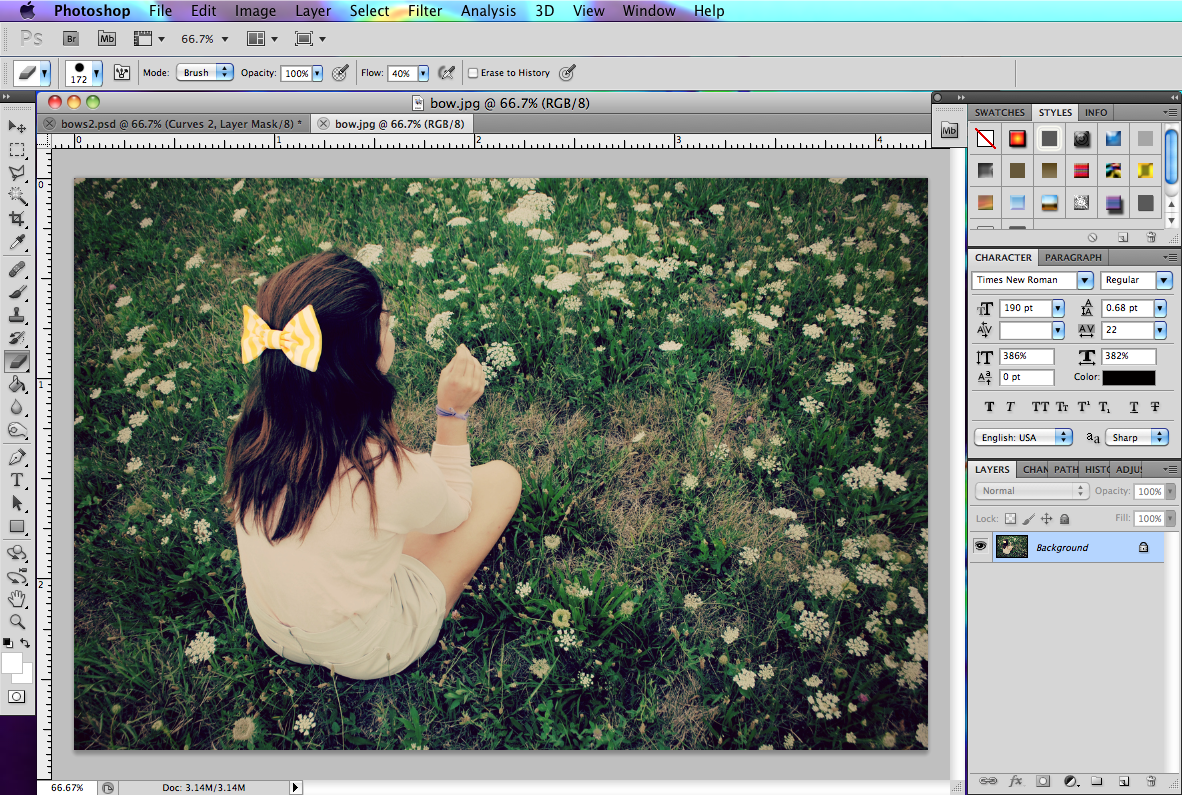
First off, you’ll need to open up a photo of your choice into Photoshop.
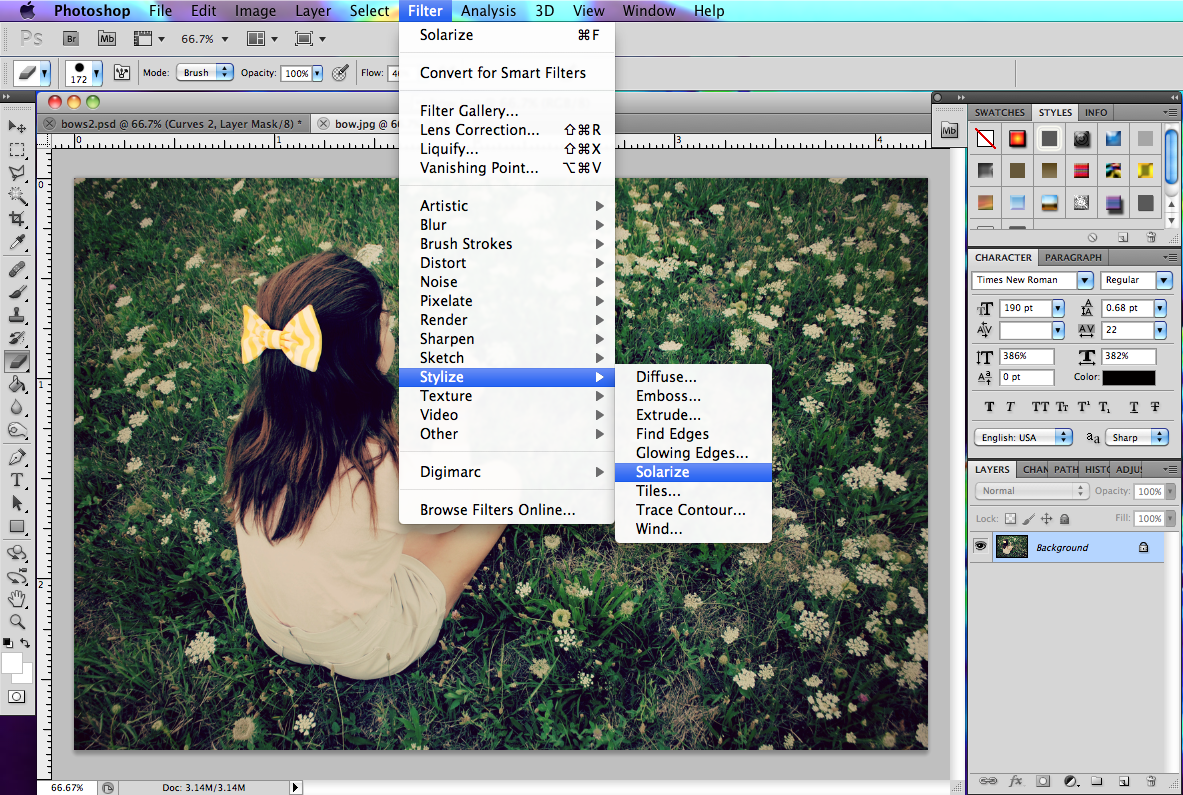
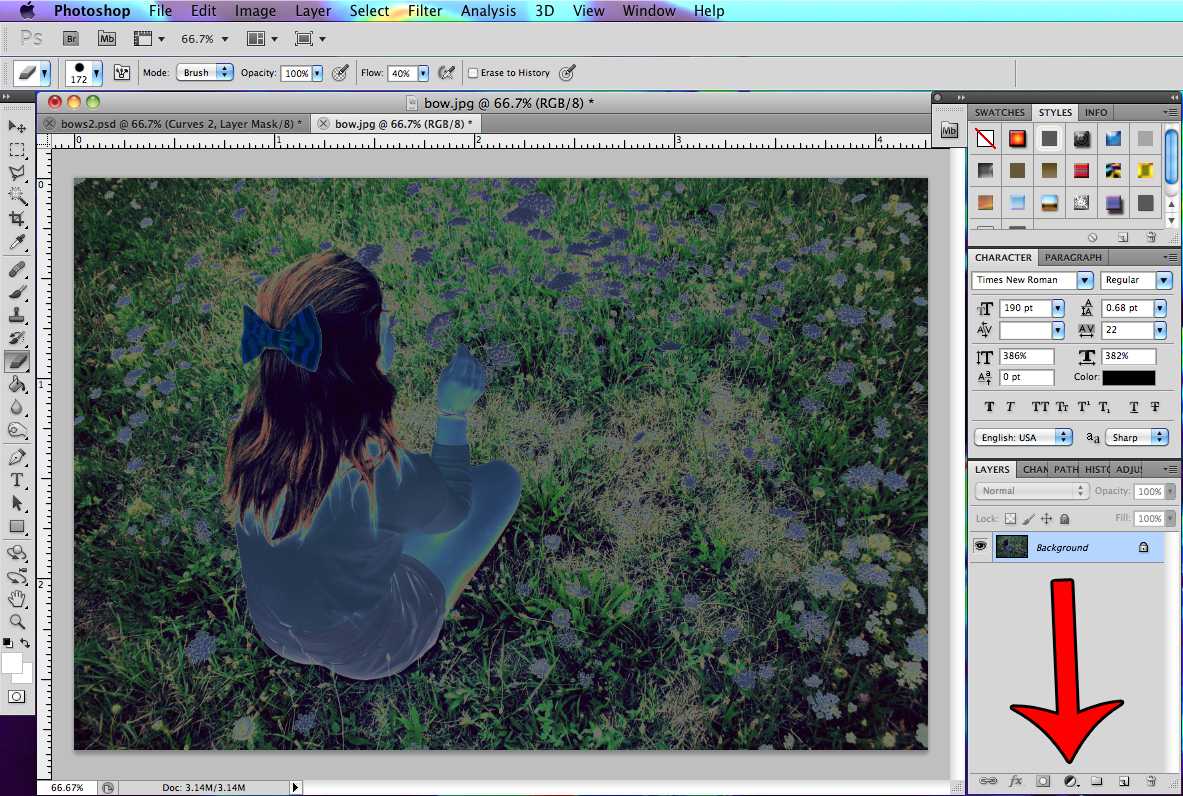
Once you’ve got the photo you want, go to Filter-Stylize- and click on “Solarize”.
Great! Now you have officially solarized your photo in one easy step, but let’s take it further by clicking the black and white cookie at the bottom of your tool bar. Click on this black and white tool and choose “Black and White”.
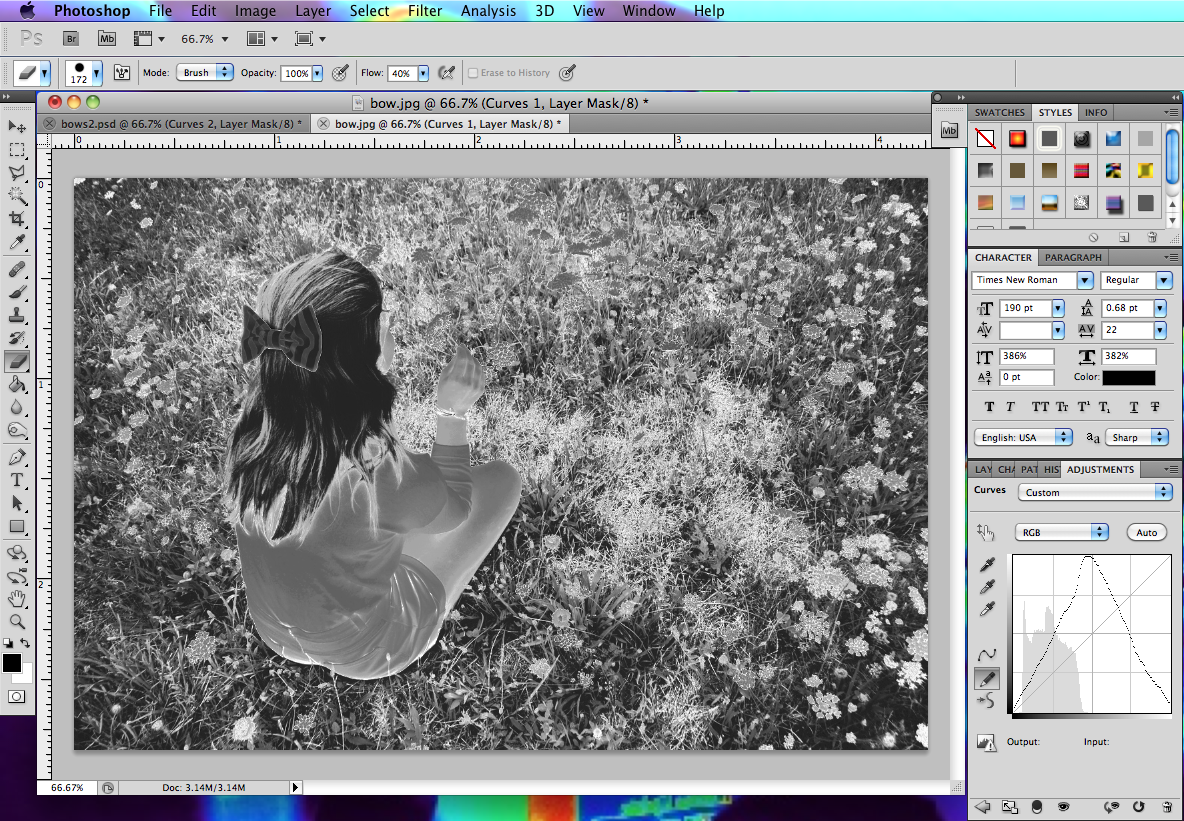
Now that it’s in black and white, click the same tool again, but this time choose “Curves”. Select the pencil tool in the curves tool bar and draw an inverted V in the box like so.
Once again go back to your black and white cookie and select “Curves” again. This time click on the wave tool instead of the pencil, and move around the line to make something resembling the shape of an “S”. However, you can move the wave around anyway you’d like.
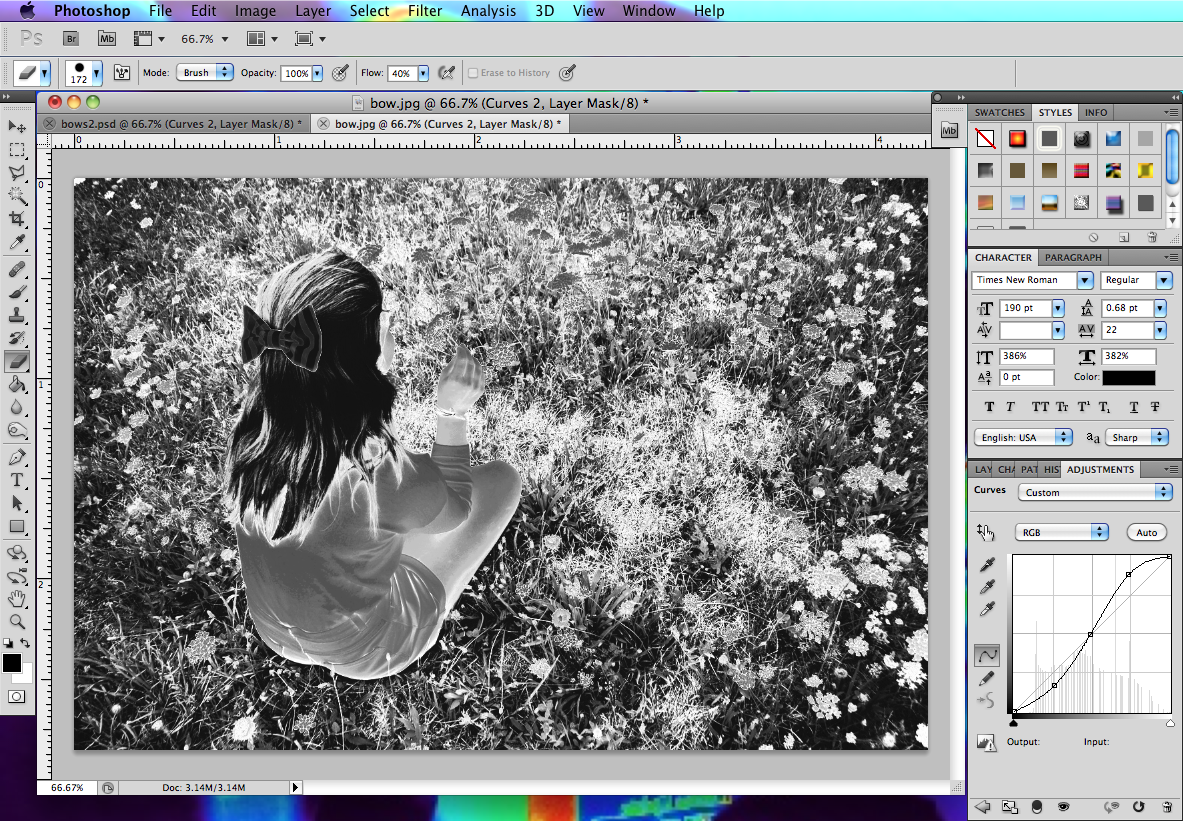
… and there you go! You’ve successfully turned your normal life-like photo into a mesmerizing dreamscape! Now run along and show off your new editing skills to your friends.
Special thanks to Ms. Sortino for teaching me about solarizing photos.