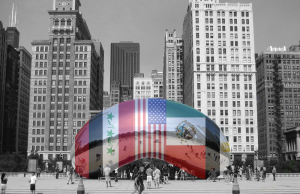
- By the end of this tutorial, you will able to transform a picture’s colors and insert pictures in an artistic and presentable matter.
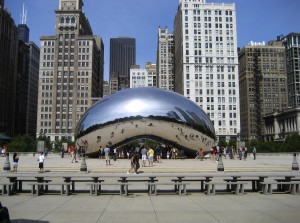
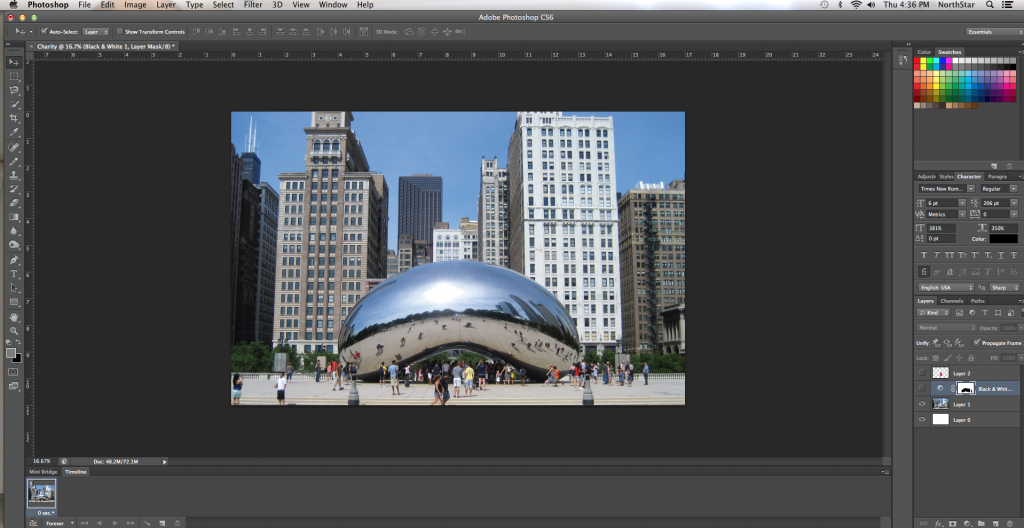
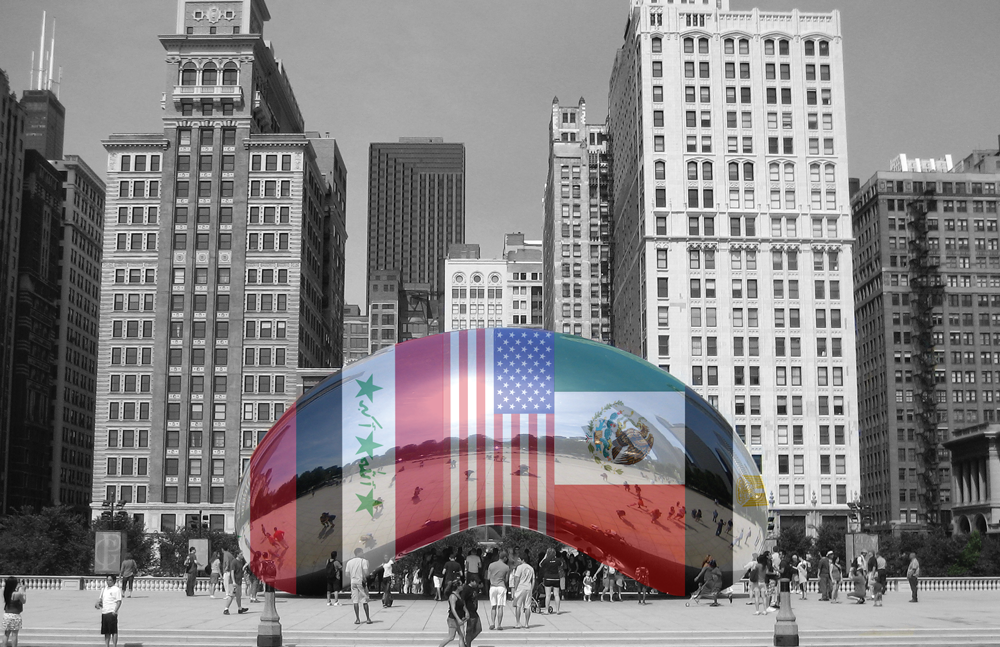
1. To make such picture, first find a picture you like. In my case, it is the Chicago Bean picture. To represent the diversity of Chicago. I want to make the Bean pop by having different flags on it.
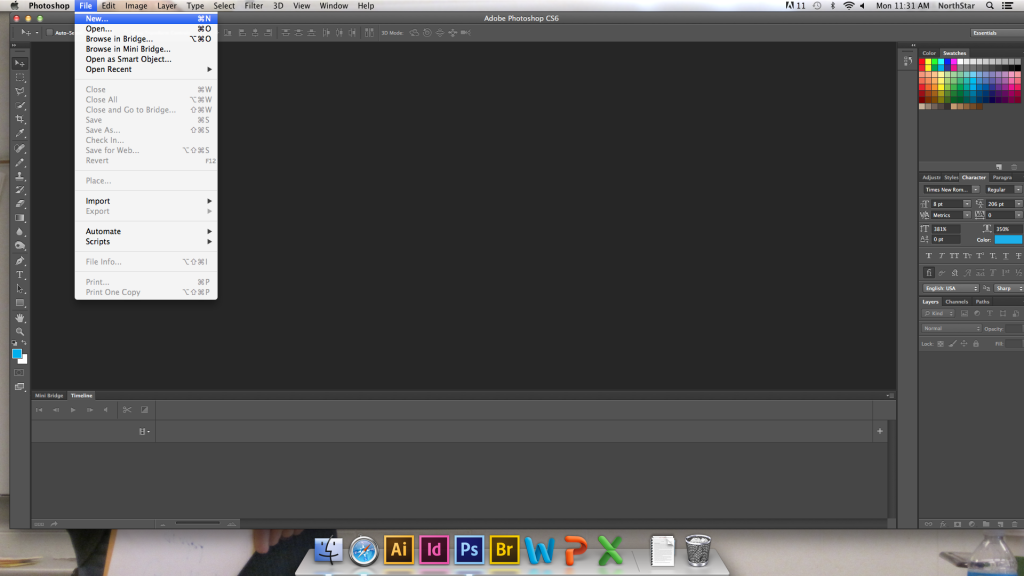
2. Open Photoshop and create a new file.
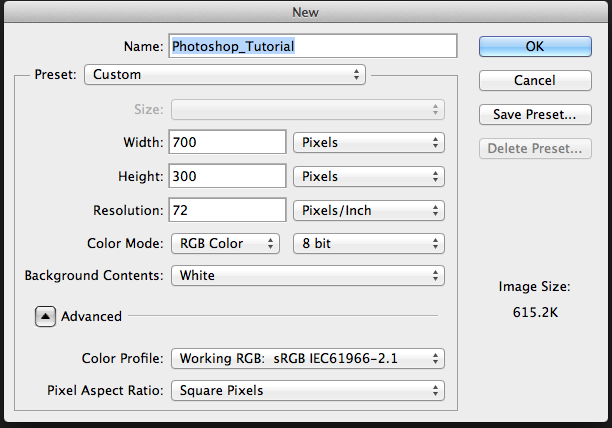
3. Create a new file and indicate it dimensions and name it. For this project, the size of the image is 700 x 300 pixels, and I named it Photoshop_Tutorial
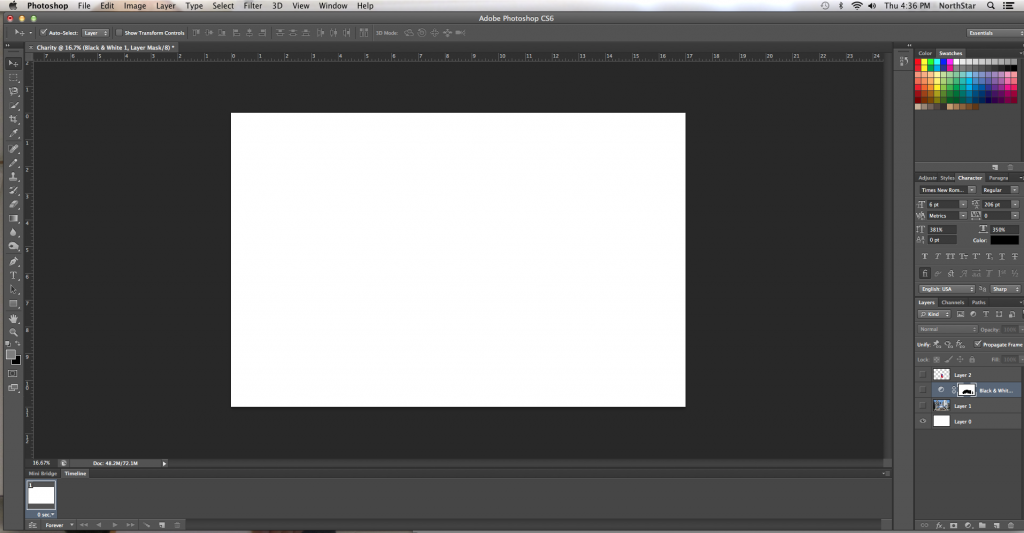
4. Click OK and wait for your file to be created. You then are going to see a blank sheet.
5. Open the image that you found in photoshop and simply drag it into this blank sheet.
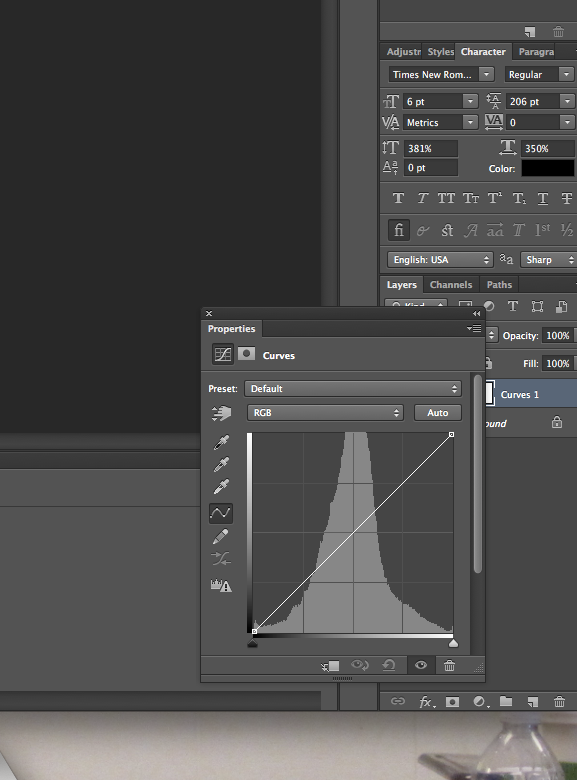
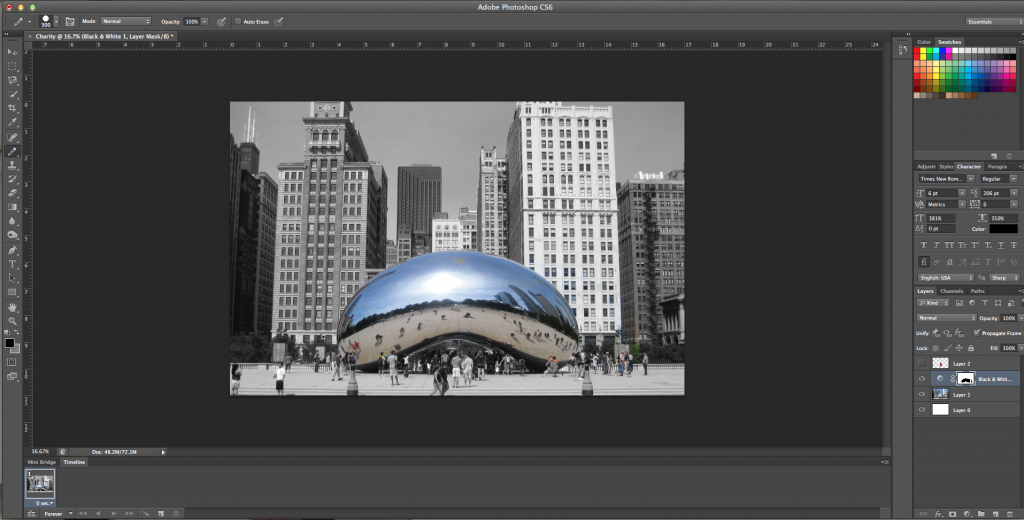
6. To change the color scale of the picture, click on the circle that’s on your lower right hand corner and click on curves. Change the lines until the colors of pictures are nice.
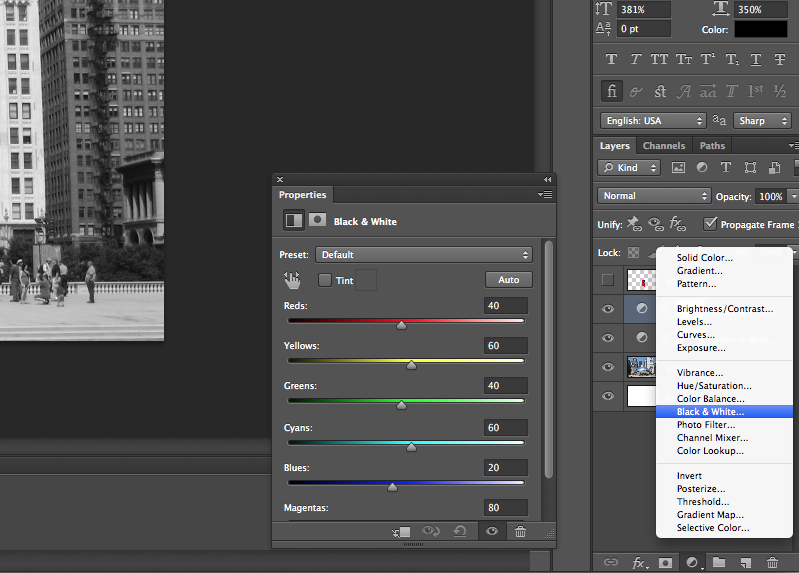
7. To make the image black and white, click on the circle again and choose black and white. Manipulate until you are pleased with the results.
8. If you don’t want your whole picture to be black and white, click on the white sheet of your black and white layer. Then, use your brush tool to paint the area that you do not want to be black and white black. That area’s colors will return.
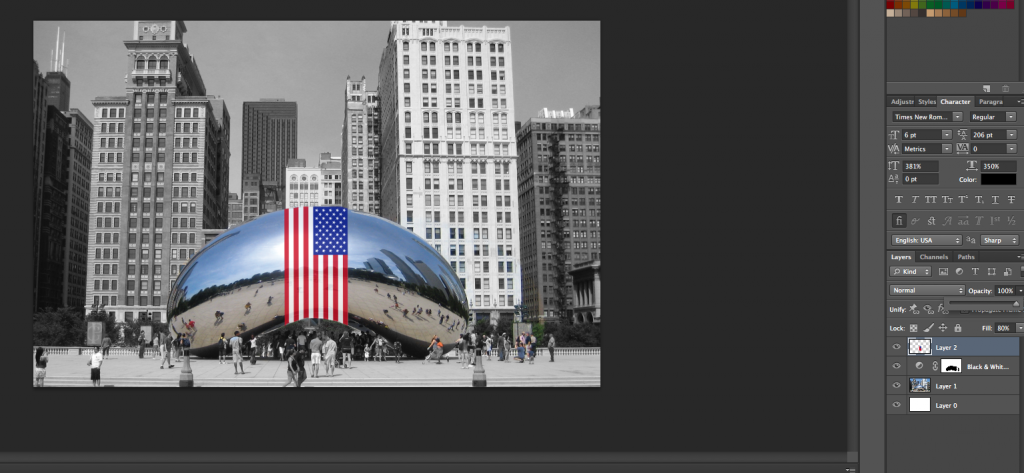
9. To put images on the Bean now, simply open the flags (in my case) in another photoshop file and drag them into this file just like you dragged your original file. Place the image where you want it to be and change its size appropriately. You could transform the size of the image by pressing command-T.
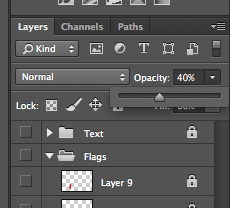
10. To make the flag look like it’s more a part of the image, you can fade it in and change its opacity.
 11. Repeat step 11 until all of your images have been placed and are faded in to finally have your image look like this!


