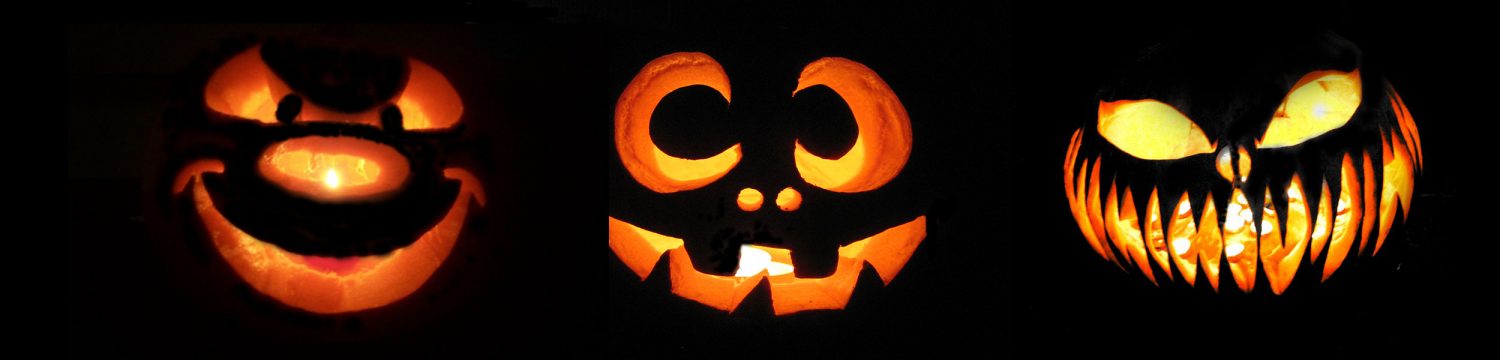
Are you excited for Halloween? Because, it’s just around the corner! Get ready to show off your decorated house with the best looking carved pumpkins ever.
Some people think that it’s a must to have all those snazzy carvings on a pumpkin, but I’m telling you now, when it comes to pumpkins, simplicity stands out to the trick-or-treaters.
First off, materials! To successfully carve a good looking pumpkin, you must have the following:
- A pumpkin
- Small knife
- Large spoon
- Drill
- Paper towels
- Medical gloves
- Letter paper (8 1/2 ” x 11 “)
- Permanent marker (optional)
- A small candle
What to do:
- Put on the medical gloves, to avoid any mess, and place paper towels over the area you’re working on.
- Choose a pumpkin you would be able to make enough cutouts on. Look for a large one; that way, you can rarely ever think that you didn’t do enough.
- Make sure the chosen pumpkin is dry before any cutting.
- Trace a line at the top of the pumpkin, around its stem. After, cut along the traced line to create an opening at the top of the pumpkin. Make sure that it is big enough! So it will be easy to clean out and then cut other parts of the pumpkin out.
After step four, there are two ways of decorating a pumpkin. Such as tracing or stenciling.
Steps for Tracing:
- Take a permanent marker and draw any design you want to carve on your pumpkin (preferably, draw it with a pencil, then trace it with the marker) on a piece of paper
- Place the paper with the drawn design over one side of the pumpkin
- To have it placed in one position on the pumpkin, tape the corners of the paper so you won’t have to hold on to it while you’re cutting through it.
- Make a hole with the drill at a corner of every shape in the design as a starting point to cut
- Cut and follow the lines of the design on the paper
- Be sure that when you’re cutting, you’re cutting all the way through the pumpkin.
Steps for Stenciling:
Stenciling is different from other types of decorating because some parts of the pumpkin are not completely cut through, therefore you can use different shades of light in your design.
- Draw your design onto the pumpkin. Use symbols that you would understand to represent different kinds of brightness.
- Use a sharp spoon like tool to carve out the darkest parts of your design, in other words the shallowest parts. This way you’ll have room to change anything after you carve the brightest parts.
- Carve the brightest parts by saving a thin layer of pumpkin. Do not cut all the way through.
- To add details, use a drill to make lines with small holes.
- Add a light inside to test the brightness of certain areas and make small changes.
Have a jolly good time with your pumpkin and let your trick-or-treaters know how awesome you are with the carvings on it!