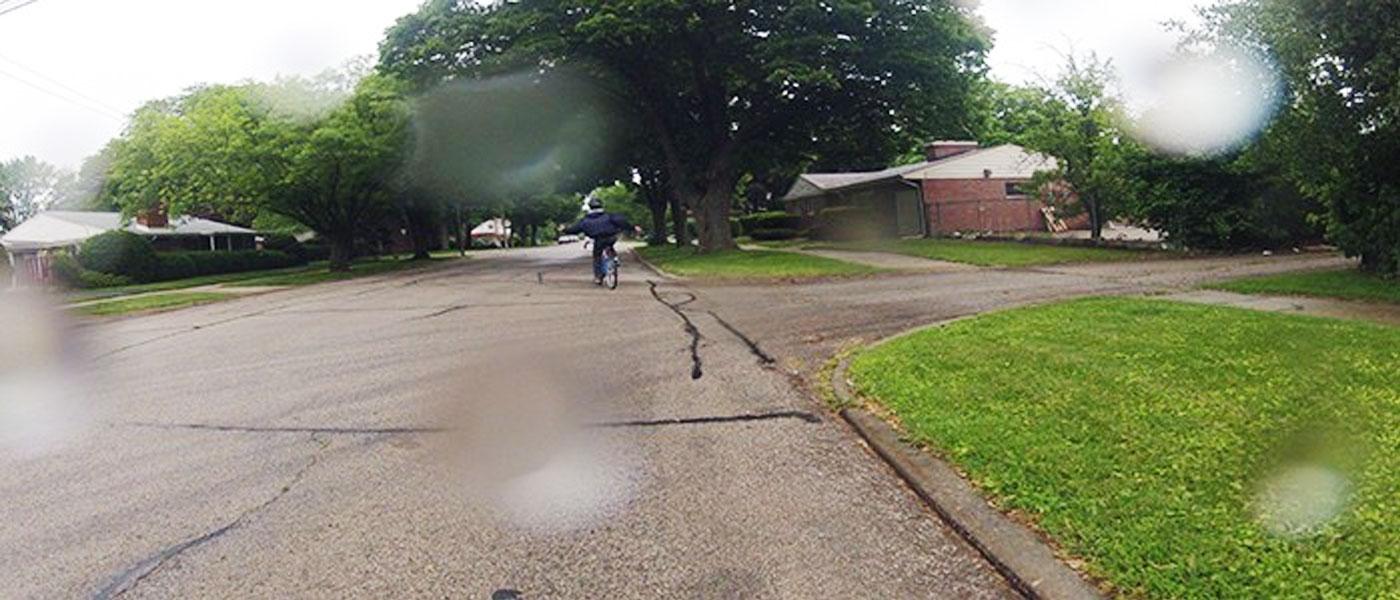
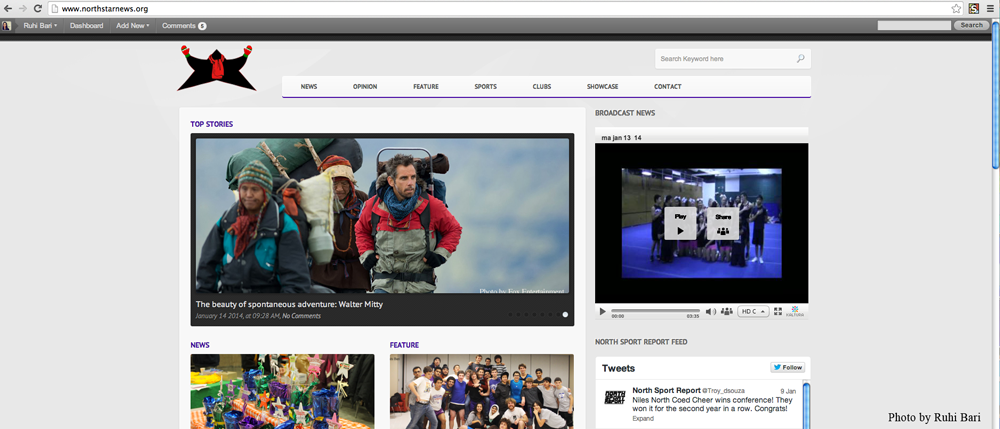
The first thing people will see when they visit the Northstar page is the featured image of whatever story comes up on the screen. Because of this, it’s extremely important to make sure you know how to edit a featured image properly and how to upload the image. First off, open the image that you took for your story in Photoshop.
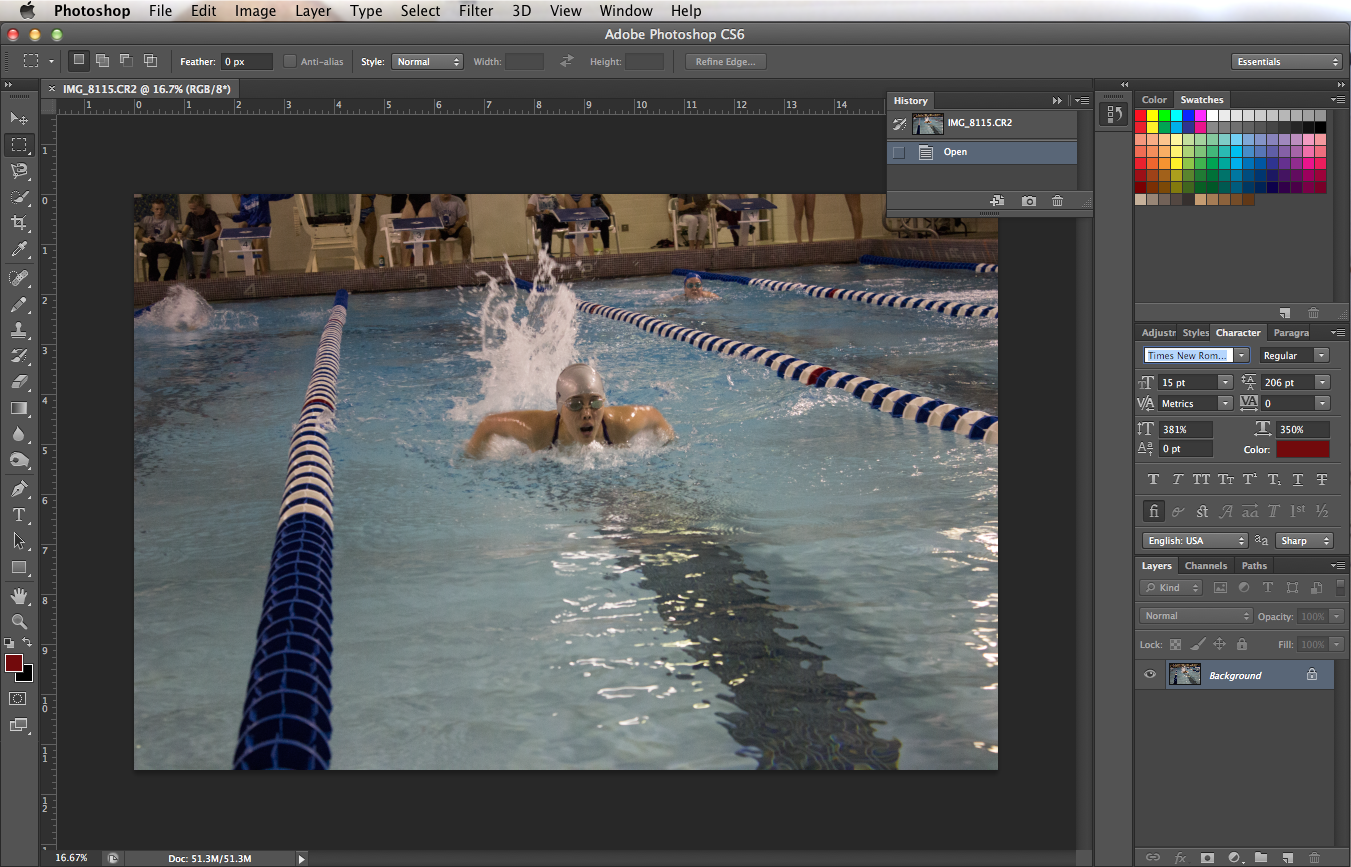
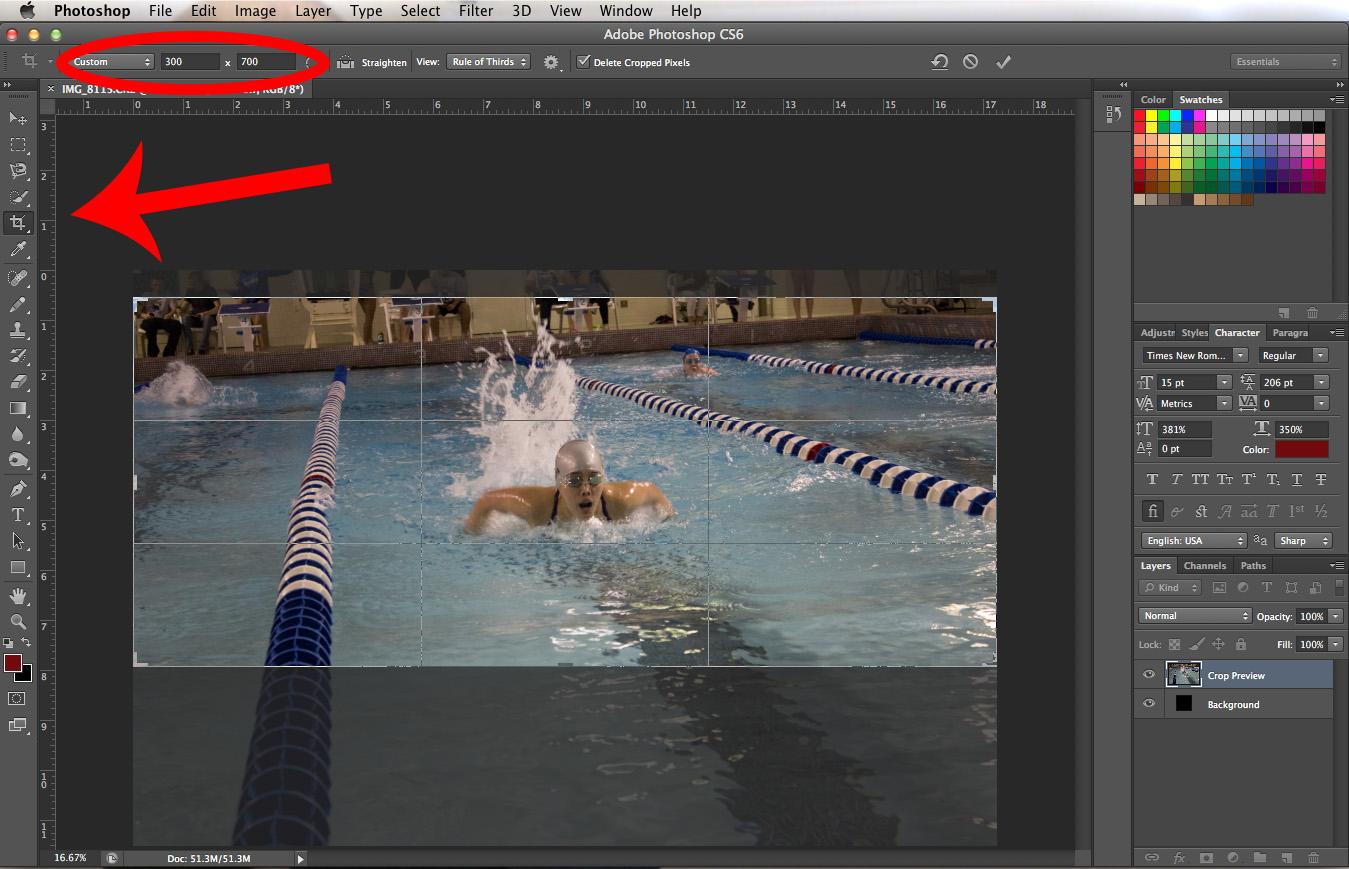
Next, the image has to be a certain size, so you have to make sure you crop it correctly. Select the crop tool on the toolbar to the right-hand side of the screen. Once you’ve selected it, make sure that the dimensions for the cropped image are 300×700. It’s very important for the image to be exactly this size. Once you’ve written in the right dimensions, move the image around until you’re satisfied with it. Then press the enter key and your image will crop where you wanted it to.
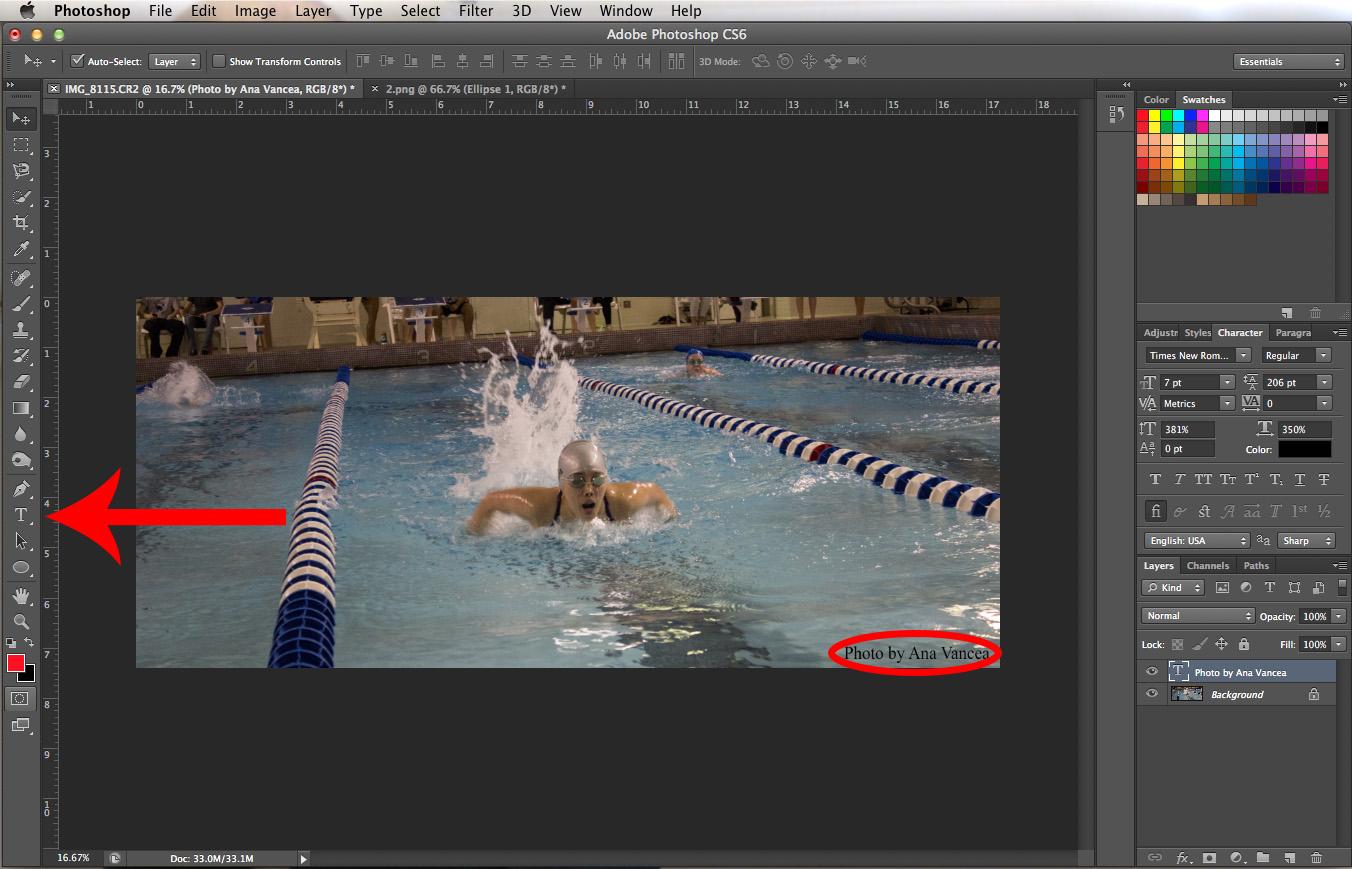
Now that your image is the right size, you have to write in photo credits. Go to the toolbar on the right-hand side of the screen again and select the text tool. Once you have it selected, you can type the photo credits. Write “Photo by” and then write the name of the person who took the picture. Make sure the photo credits are in one of the corners of the image and the font color is either black or white, depending on what works best with the background.
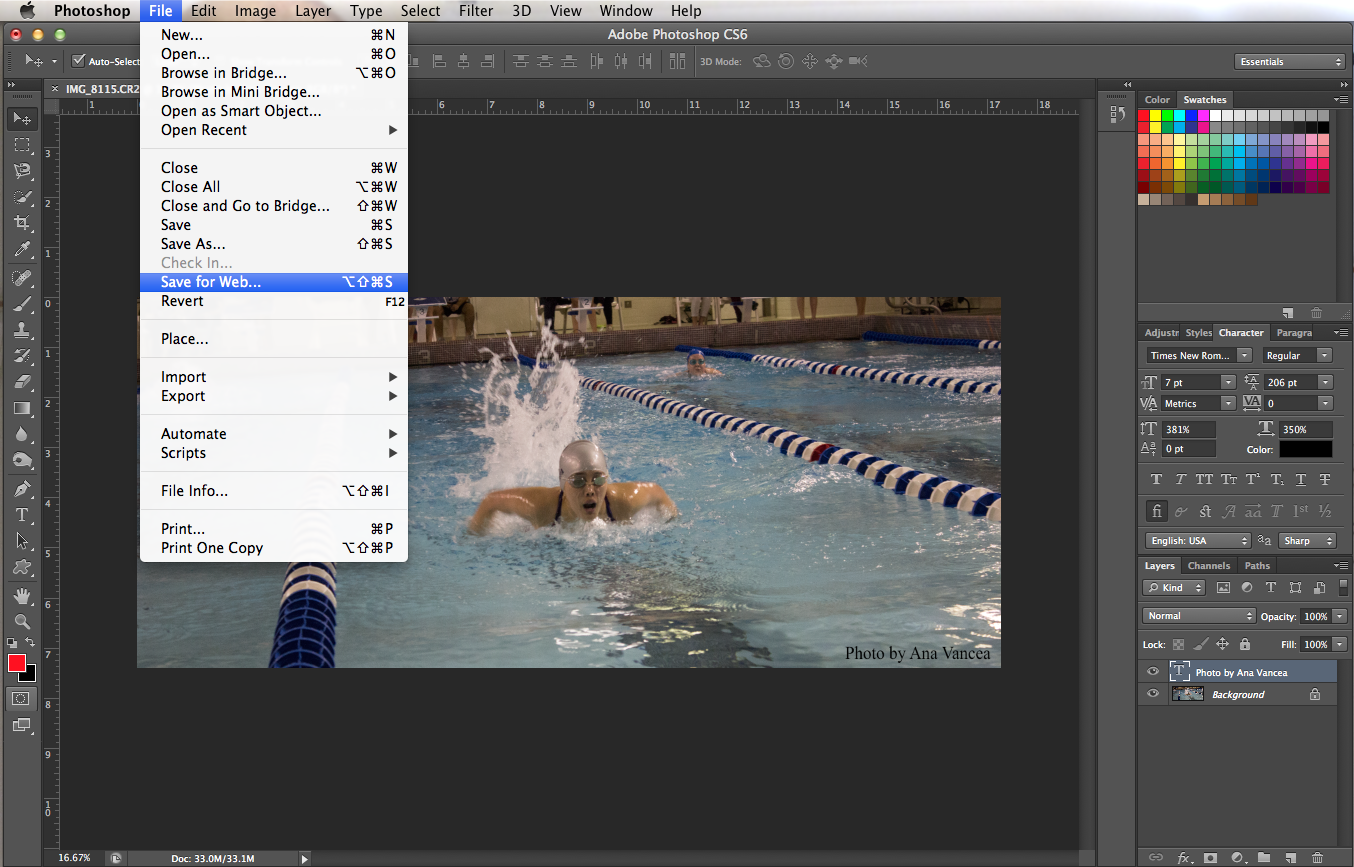
Once you’ve entered in the photo credits, the image is ready! The next step in this process is to save the image and upload it to WordPress. To do this, you first have to go to File and click the Save for Web option.
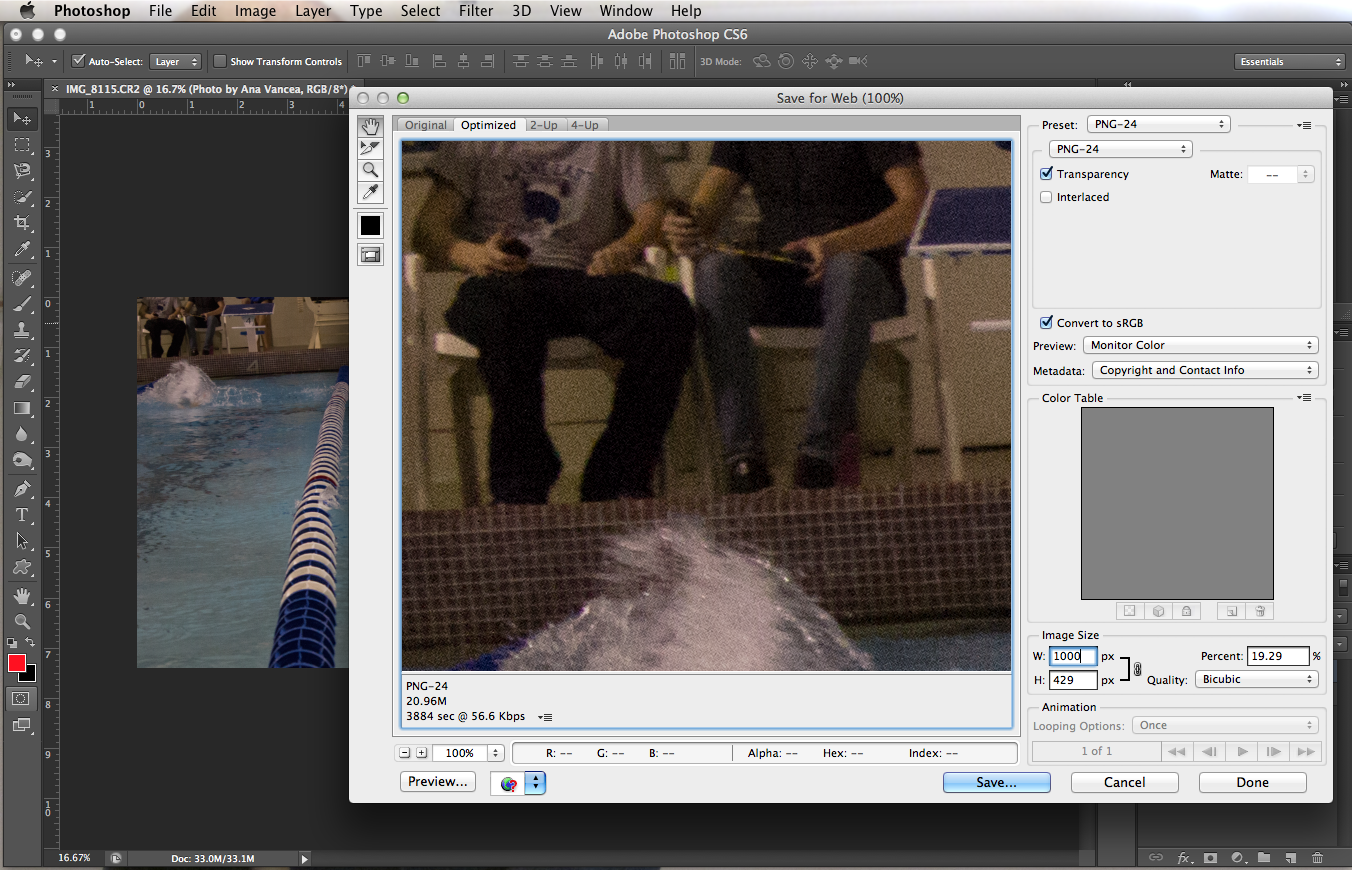
When you click Save for Web, a box like this will appear on your screen. Here, you will have to do a couple of things. First, you have to set the preset option to PNG-24. Also, where it says image size, make sure the width is 1000 pixels. You do not have to change the height. It will automatically change when you change the width. These are all the things you need to change, so when you’ve done this, you can go ahead and click Save.
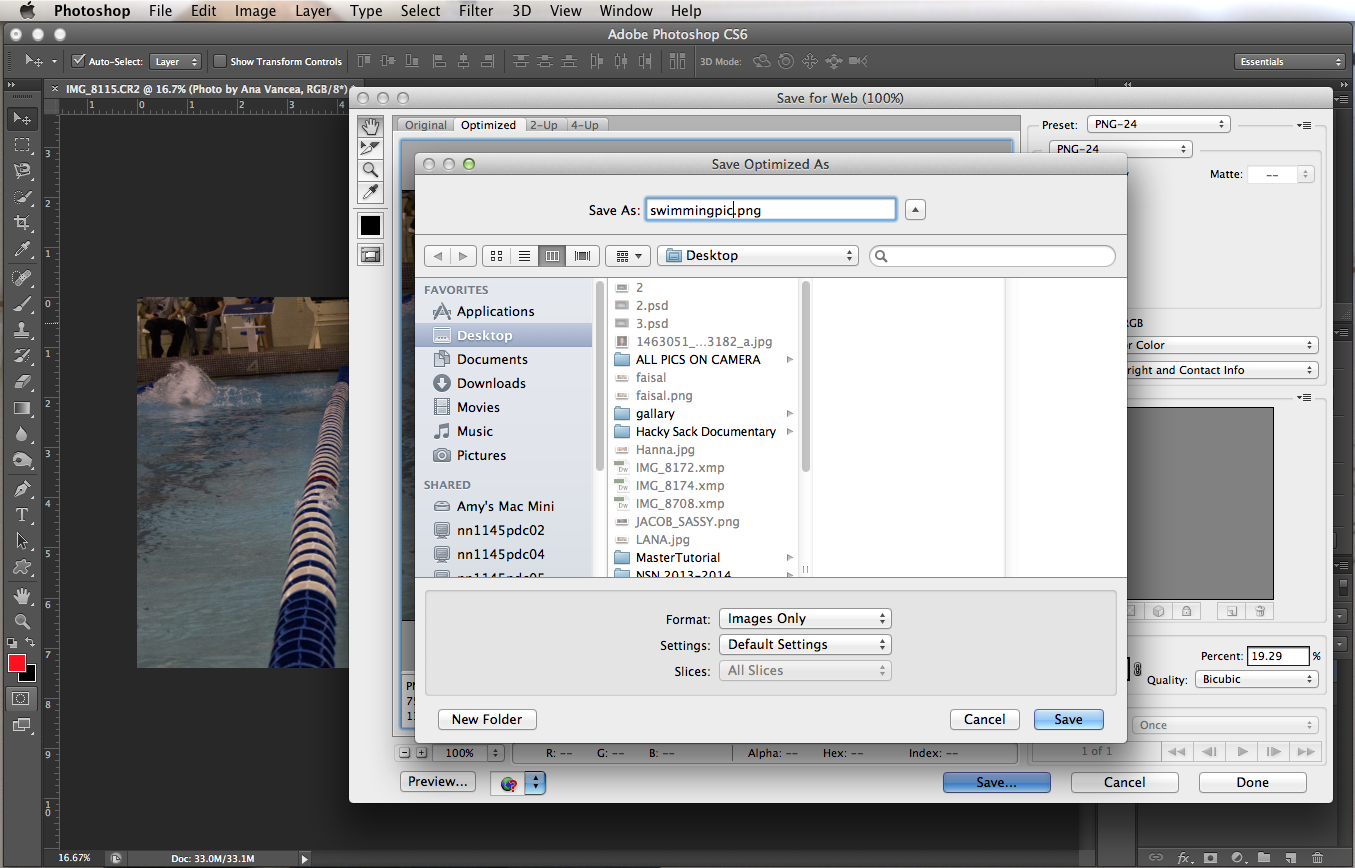
Once you’ve clicked Save, another box will appear on your screen. Now, you’re going to need to change the name of your image to something you can recognize and save it in an easily accessible place, such as the Desktop. Click Save when you’ve done this.
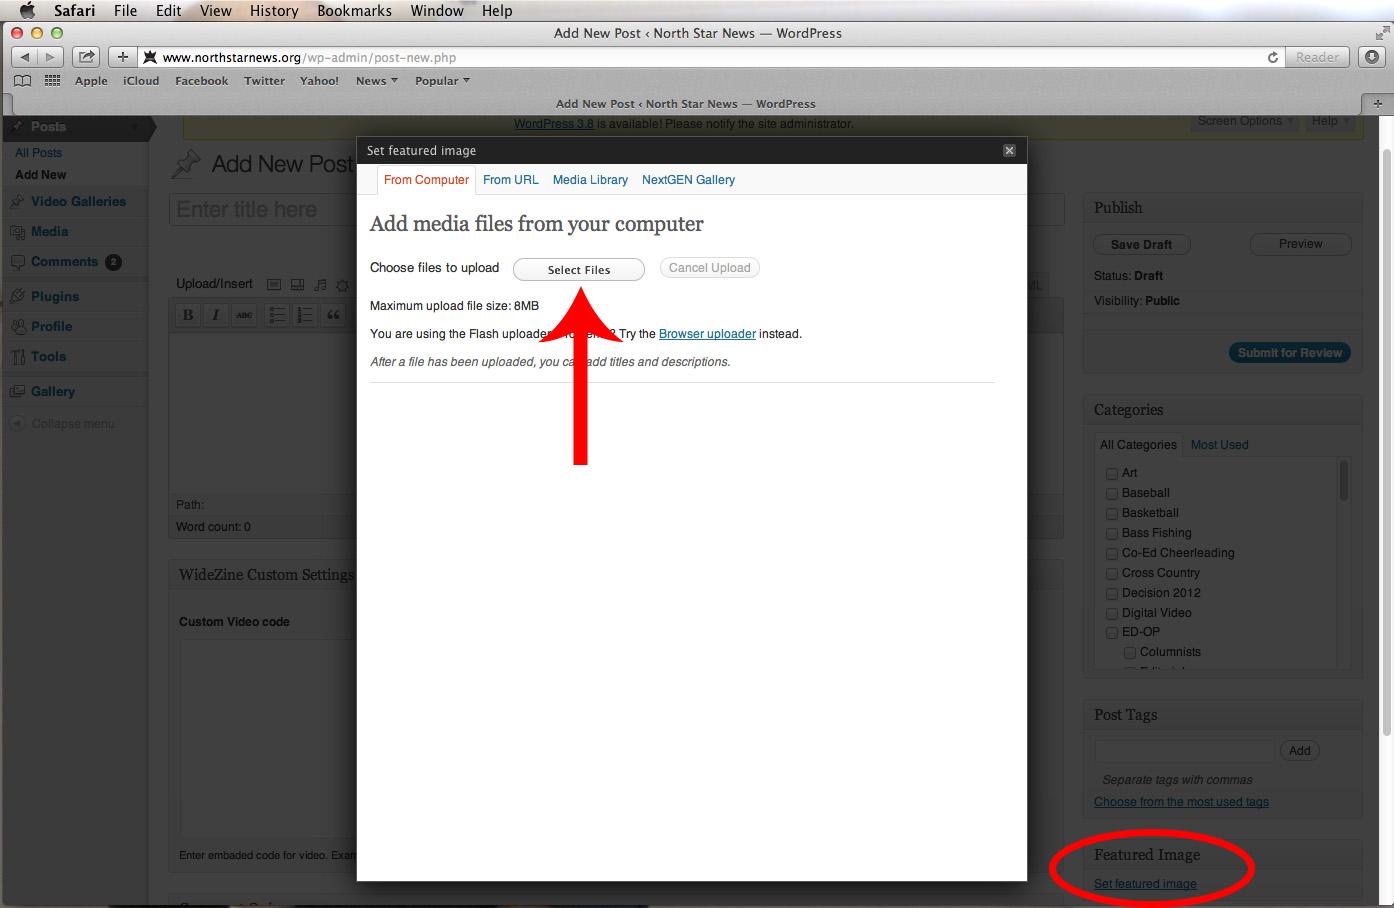
Now that your image is saved, you can go ahead and log into WordPress. Go to your saved article and in the bottom right corner of the screen, there should be an option where it says “Set featured image.” Once you’ve clicked this, you’ll see a screen like the one below. Click the “Select files” button.
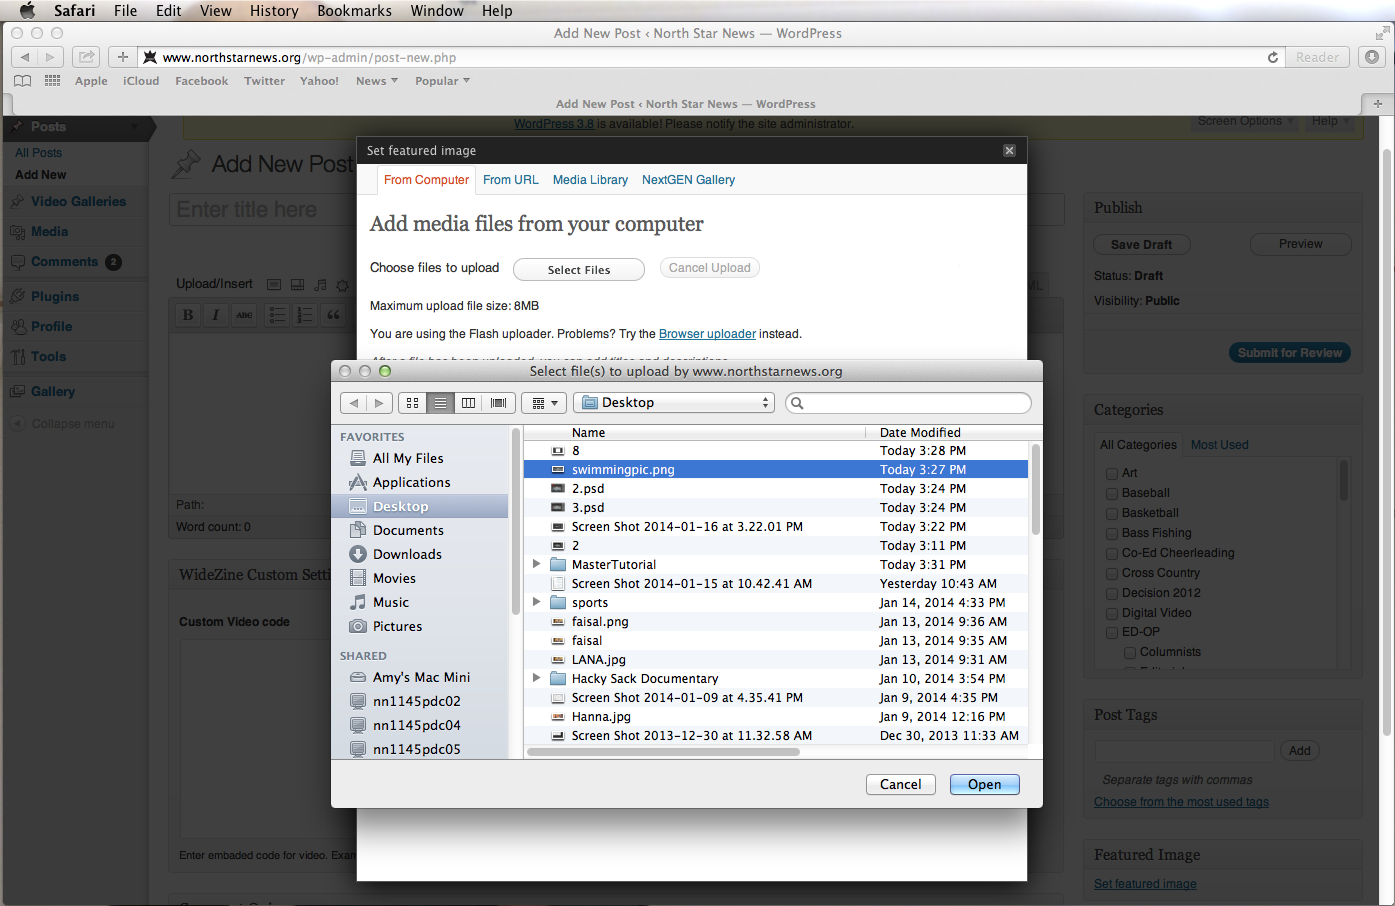
Once you’ve clicked the “Select files” button, select your featured image from wherever you saved it. Then click “Open.”
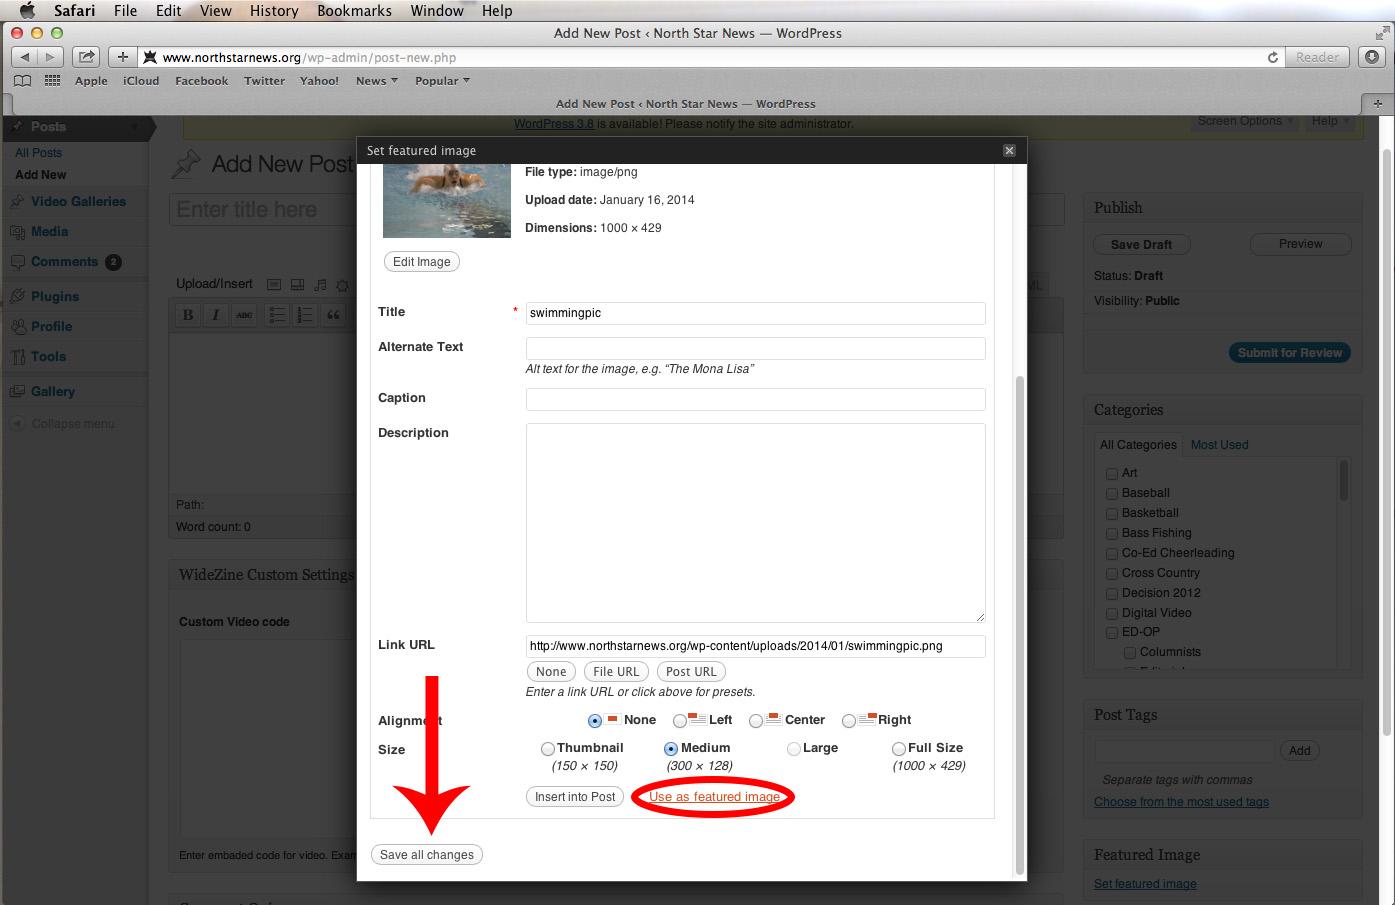
Now, we move on to the last step of this tutorial. When you’ve selected your image, you will see a screen like the one below. Make sure there is no alignment and make sure the image size is Medium. Once you’ve done this, you can go ahead and click the “Use as featured image” option and then click “Save all changes.” You now have a featured image for your article!
Whenever you write an article for the Northstar website, it’s always important to make sure your featured image looks good. Now you know how to correctly edit and upload a featured image, which will prove very valuable whenever you write an article. Thanks for reading!